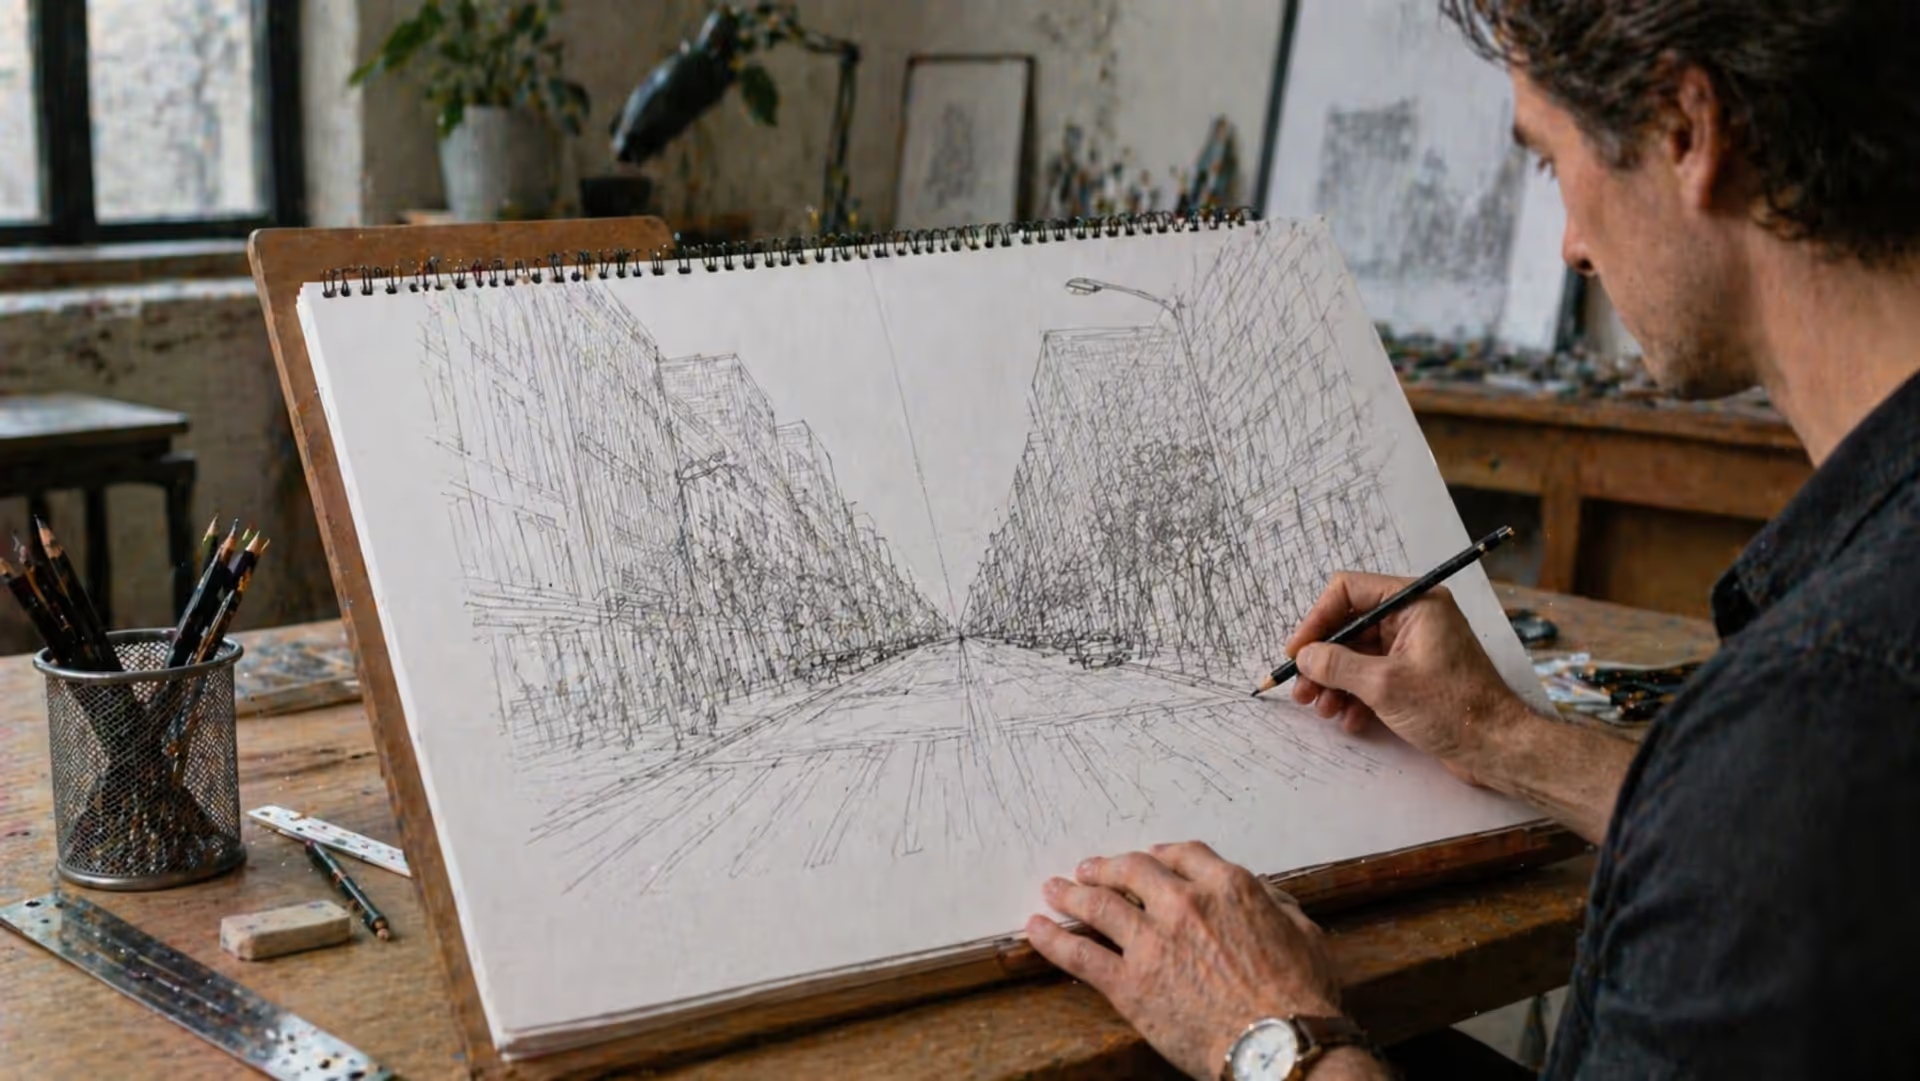
Perspective is the set of techniques artists use to represent three-dimensional space on a flat surface. It governs how objects appear smaller as they recede into the distance, how parallel lines seem to converge toward a single point, and how atmospheric conditions affect color and clarity across spatial planes. Without perspective, drawings and paintings look flat, unconvincing, and disconnected from the viewer's everyday visual experience.
Mastering perspective transforms a collection of shapes into a believable scene. A street recedes toward the horizon, a building's edges align logically, and a figure occupies space rather than floating ambiguously on the page. Understanding what is perspective in art means grasping both the mathematical rules that govern spatial representation and the observational skills needed to apply them convincingly.
How Perspective Creates Depth and Realism in Art
Depth in drawing techniques relies on mimicking how the human eye perceives the world. When you look down a railroad track, the rails appear to meet at the horizon even though they remain parallel in reality. Distant mountains fade to blue-gray while nearby trees show rich greens and sharp edges. These phenomena—convergence and atmospheric fade—form the foundation of spatial representation in art.
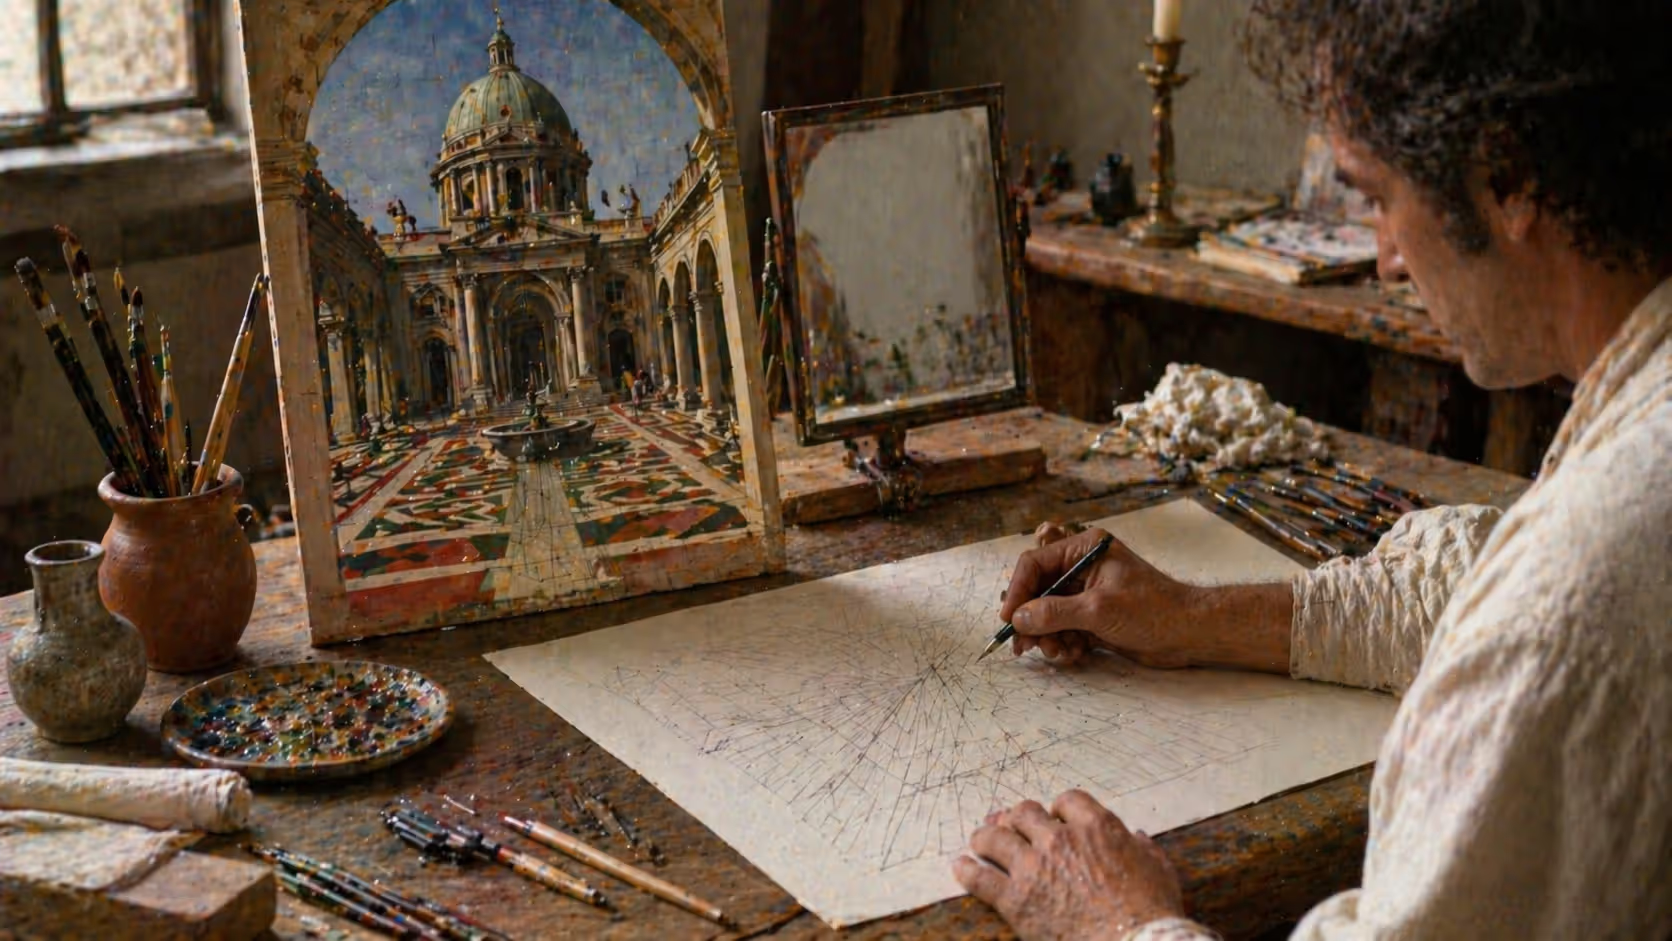
Before the Renaissance, most Western painting treated space symbolically. Figures were sized according to importance rather than distance. Backgrounds stacked vertically rather than receding logically. In the early 1400s, Italian architect Filippo Brunelleschi conducted experiments using mirrors and painted panels to demonstrate mathematically consistent perspective. His findings, later codified by Leon Battista Alberti in treatises, gave artists a geometric system for constructing believable space.
By the mid-1400s, painters like Masaccio and Piero della Francesca embedded architectural grids into their frescoes, anchoring religious scenes in plausible rooms and piazzas. Leonardo da Vinci refined these principles further, writing extensively about both linear geometry and the optical effects of atmosphere. His notebooks contain diagrams of vanishing points, studies of foreshortened limbs, and observations on how moisture and particles soften distant forms.
Perspective matters because human vision is perspective-based. Your brain constantly interprets convergence, overlap, scale change, and atmospheric haze to navigate the world. Art that ignores these cues feels alien or decorative rather than immersive. Even stylized or abstract work often benefits from subtle perspective logic to guide the viewer's eye and establish spatial hierarchy.
Author: Marcus Ellery;
Source: crafterholic.com
Linear Perspective and the Role of Vanishing Points
Linear perspective in drawing uses geometry to simulate depth. The system rests on three core elements: the horizon line (representing the viewer's eye level), vanishing points (where parallel lines converge), and convergence lines (the receding edges that lead to those points).
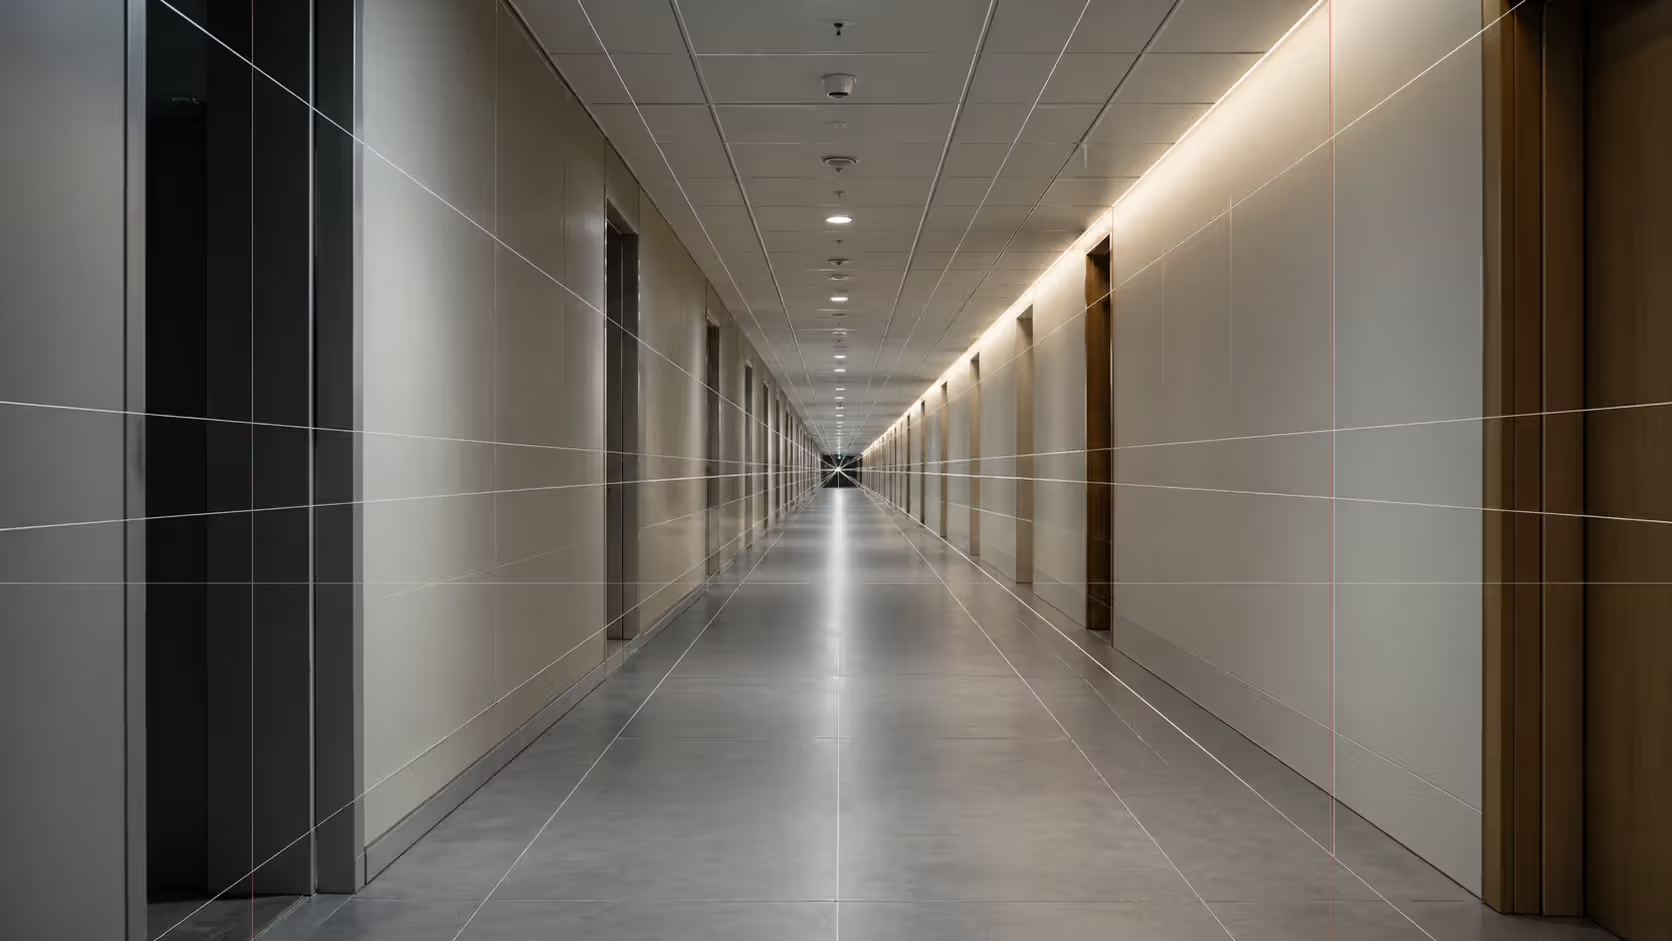
Imagine standing in the middle of a long hallway. The floor and ceiling appear to slope toward a single spot straight ahead, even though both surfaces are flat and horizontal. That spot is the vanishing point. The edges of the floor tiles, the seams where walls meet ceiling, and the tops of doorways all angle toward it. This convergence creates the illusion that the hallway extends into depth rather than existing as a flat pattern.
The horizon line sits at your eye level. If you crouch, it drops; if you climb a ladder, it rises. Objects above the horizon show their undersides; objects below reveal their tops. This relationship holds true whether you're drawing a cityscape, a still life on a table, or a figure in a room.
Author: Marcus Ellery;
Source: crafterholic.com
One Point Perspective Explained
One point perspective uses a single vanishing point, typically placed on the horizon line. It works best for scenes where one set of parallel lines recedes directly away from the viewer: a road stretching into the distance, a hallway, a row of telephone poles, or a railroad track.
All horizontal lines perpendicular to the picture plane converge toward the vanishing point. Vertical lines remain vertical. Horizontal lines parallel to the picture plane (like the front face of a building viewed straight-on) stay horizontal and don't converge.
This setup creates strong, centered compositions. The viewer's eye naturally follows the converging lines toward the vanishing point, making one point perspective ideal for emphasizing depth along a single axis. However, it can feel static or symmetrical if overused. Objects placed off to the side may look awkward because they don't align with the central convergence.
Two Point Perspective Basics
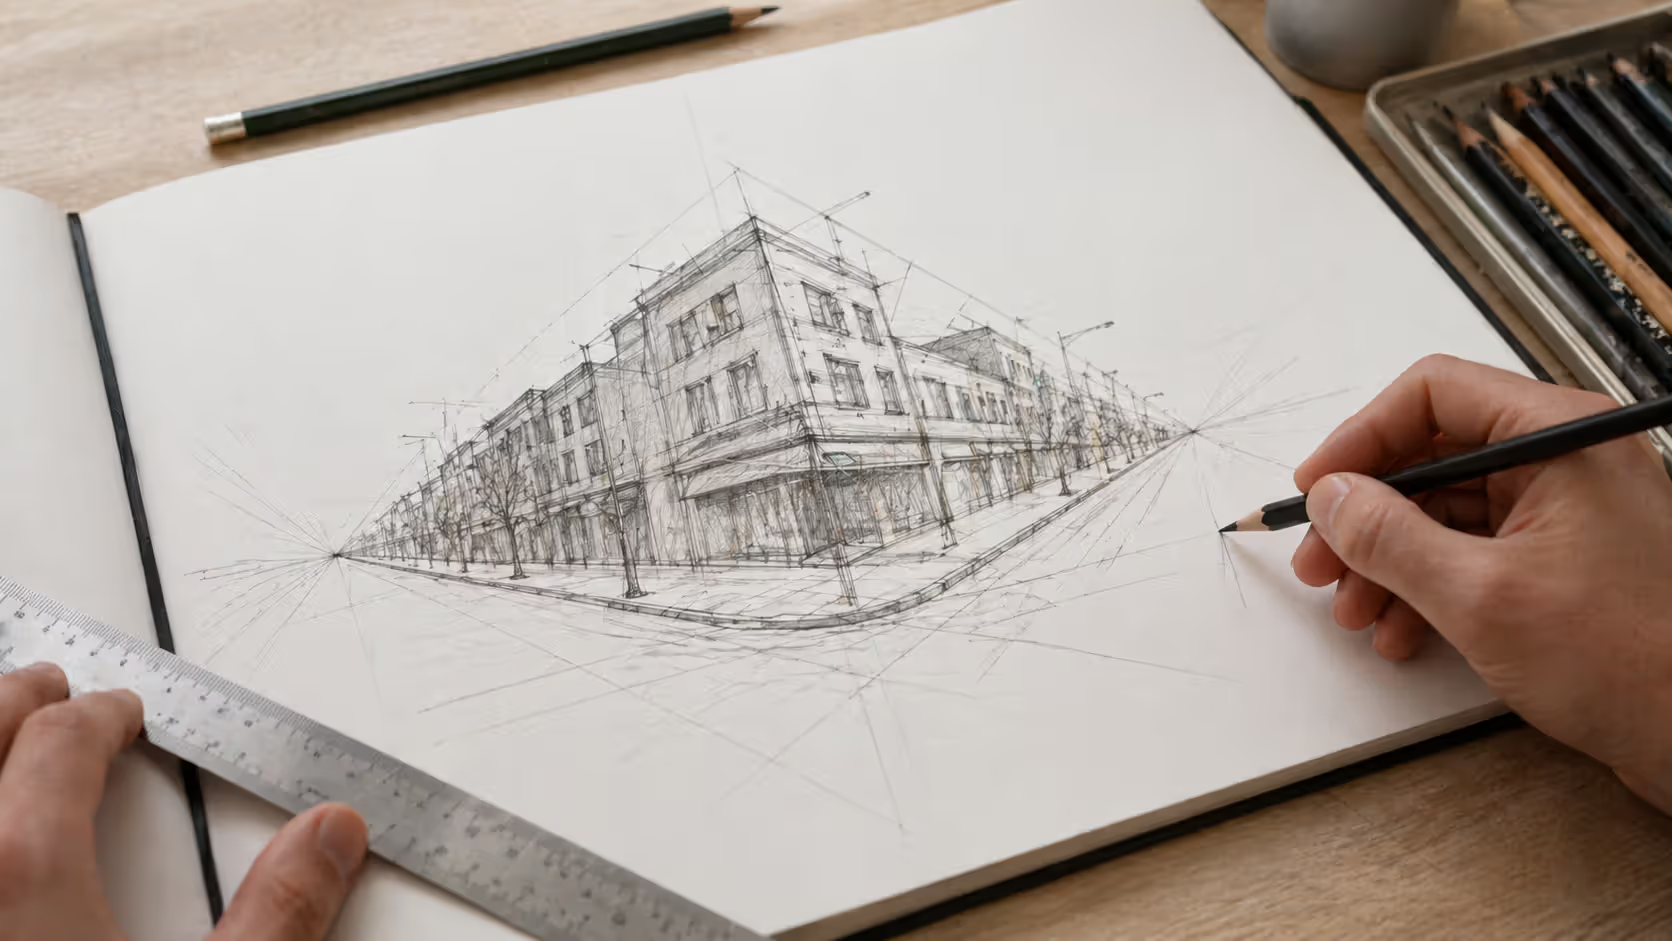
Two point perspective introduces a second vanishing point, both placed on the horizon line at opposite ends. Now the viewer stands at the corner of a building or object rather than facing it head-on. The vertical edges remain vertical, but horizontal edges recede toward one of the two vanishing points depending on which face they belong to.
This approach feels more dynamic and naturalistic. Buildings gain volume; street corners read as true corners rather than flat facades. Two point perspective suits urban scenes, interiors viewed from an angle, furniture, vehicles, and most architectural subjects.
The distance between vanishing points affects the sense of scale and distortion. Placing them far apart (even off the page) yields gentle, realistic convergence. Squeezing them close together creates exaggerated, wide-angle distortion similar to a fisheye lens. Beginners often place vanishing points too near each other, resulting in objects that look compressed or warped.
Author: Marcus Ellery;
Source: crafterholic.com
Three Point Perspective Guide
Three point perspective adds a third vanishing point above or below the horizon, making vertical lines converge as well. Use this when viewing a subject from an extreme high or low angle: looking up at a skyscraper from street level, or down at a cityscape from a helicopter.
If the third vanishing point sits above the horizon, verticals converge upward (worm's-eye view). If it sits below, they converge downward (bird's-eye view). This technique intensifies drama and scale, making tall structures feel monumental or precarious.
Three point perspective requires careful planning. Managing three sets of convergence lines simultaneously increases complexity. Distortion becomes more pronounced, especially near the edges of the composition. Comic book artists and concept designers use it frequently to convey superhero vantage points or towering sci-fi architecture, but it's less common in observational drawing where moderate angles dominate.
Train tracks disappearing into distance, corridor in a building
Two Point
2 (both on horizon)
Buildings at an angle, street corners, furniture, vehicles
Intermediate
City intersection, table viewed from corner, exterior architecture
Three Point
3 (two on horizon, one above or below)
Extreme high or low angles, skyscrapers, aerial views
Advanced
Looking up at a tall building, bird's-eye view of a plaza
Atmospheric Perspective and Color-Based Depth
Atmospheric perspective explained: as objects recede, the air and moisture between you and them scatter light, reducing contrast, cooling color temperature, and softening edges. Mountains twenty miles away appear pale blue-gray regardless of their actual color. Nearby foliage shows saturated greens and distinct leaves; distant trees blur into muted masses.
This phenomenon offers a powerful depth cue that works independently of linear geometry. You can suggest vast space in a landscape without drawing a single vanishing point by gradually shifting values and hues. Foreground elements use strong darks and lights, warm colors, and sharp detail. Middle ground transitions to moderate contrast and slightly cooler tones. Background fades to low contrast, cool blues or violets, and minimal detail.
Leonardo da Vinci described atmospheric perspective extensively, noting that distant objects lose definition and take on the color of the air. He advised painters to layer translucent glazes to mimic the cumulative effect of atmosphere. Claude Lorrain and J.M.W. Turner later built entire landscape styles around atmospheric gradations, using golden foregrounds and misty blue distances to evoke depth and mood.
Atmospheric perspective complements linear methods. A cityscape benefits from both converging building edges and progressively hazier blocks as they recede. A portrait in an interior might use subtle atmospheric softening on background furniture while relying on linear perspective for the room's architecture. Combining the two creates richer, more convincing space than either technique alone.
Avoid common pitfalls: making distant objects too saturated, adding excessive detail to backgrounds, or using the same value range throughout the composition. Even a small shift—darkening foreground shadows or cooling distant highlights—reinforces spatial separation.
Author: Marcus Ellery;
Source: crafterholic.com
Common Mistakes When Drawing in Perspective
Inconsistent vanishing points rank as the most frequent error. Beginners often guess where convergence lines should go rather than plotting vanishing points first. This results in buildings that lean unpredictably or floors that tilt. Always establish your horizon line and vanishing points before drawing major forms. Use a ruler or straight edge to check that parallel lines actually converge to the same spot.
Ignoring eye level leads to impossible viewpoints. If your horizon line sits at the viewer's eye level but you draw a table as if looking down on it and a ceiling as if looking up, the scene fractures into conflicting perspectives. Commit to a single eye level and apply it consistently. Objects above the horizon reveal their undersides; objects below show their tops.
Flat compositions happen when everything sits parallel to the picture plane. A row of houses all facing forward, a still life with every object squared to the viewer—these lack the dynamic angles that make two or three point perspective engaging. Rotate objects, vary their orientations, and place the viewer at an interesting vantage point.
Improper foreshortening occurs when objects extending toward or away from the viewer aren't compressed correctly. An arm reaching forward should appear shorter than its actual length, with the hand larger and the shoulder smaller. A cylinder viewed end-on becomes a circle; viewed from the side, it's a rectangle. Foreshortening follows the same convergence rules as architectural edges. Measure carefully and trust the geometry even when it looks exaggerated.
Mixing perspective systems within a single scene creates visual chaos. If one building uses two point perspective with vanishing points at the edges of your page, don't draw another building in one point perspective with a centered vanishing point. Stick to a unified system unless you're deliberately creating surreal or impossible spaces.
Overcomplicating simple scenes wastes time. Not every drawing needs multiple vanishing points or elaborate grids. A portrait might use only subtle atmospheric perspective. A loose sketch can suggest depth through overlap and scale variation without formal vanishing points. Learn the rules thoroughly so you know when to simplify.
How to Practice Perspective Drawing Fundamentals
Start with one point perspective exercises. Draw a horizon line across the middle of your page and mark a vanishing point in the center. Sketch a simple road: two lines converging toward the point, with horizontal lines for pavement cracks or lane markers also angling inward. Add telephone poles or trees along the roadside, making them progressively smaller as they approach the vanishing point. This drill builds intuition for how size and spacing change with distance.
Next, construct a grid. Draw a square in one point perspective by plotting four corners and connecting them with convergence lines to the vanishing point. Divide the square into smaller tiles by adding more convergence lines and horizontal divisions. This grid becomes the foundation for rooms, floors, and architectural details. Practice until you can sketch a convincing tiled floor without hesitation.
Move to two point perspective by placing vanishing points at opposite edges of your page (or even beyond, on taped-on extensions). Draw a vertical line to represent the nearest corner of a box. Extend lines from the top and bottom of that vertical to each vanishing point. Add vertical lines for the far corners, then close the top and bottom faces. Repeat with multiple boxes at different positions and scales. This exercise teaches how objects relate to shared vanishing points.
For three point perspective, add a third vanishing point high above or deep below your horizon. Draw a vertical line for the nearest corner of a tower, then extend lines from its top and bottom to the upper vanishing point and to the two horizon vanishing points. The verticals will now slant inward or outward depending on the third point's position. This setup is complex; work slowly and check alignments frequently.
Recommended tools: A long ruler or T-square ensures straight convergence lines. Graph paper helps with initial grids. A compass aids in plotting ellipses (circles in perspective). Digital artists can use perspective grids in Photoshop, Procreate, or Clip Studio Paint, which overlay adjustable vanishing points and convergence guides. Traditional artists benefit from taping down a large sheet and extending vanishing points onto the table surface or adjacent paper.
Atmospheric drills: Paint or draw a simple landscape in three value zones. Use dark, saturated colors and sharp edges in the foreground; mid-tones and moderate detail in the middle; light, cool hues and soft edges in the background. Repeat this exercise with different subjects—mountains, forests, urban skylines—to internalize the progression.
Observational practice: Photograph a street corner or interior. Print the image and overlay it with tracing paper. Identify the horizon line by finding where horizontal surfaces appear level. Trace major edges and extend them until they meet; these intersections reveal the vanishing points. Compare your traced perspective grid to the photo. This reverse-engineering builds the ability to spot perspective in real scenes and reproduce it in original work.
Daily sketching: Spend ten minutes drawing a simple object—a book, a mug, a chair—from an unusual angle. Focus on correct convergence and foreshortening rather than detail or shading. Rotate the object and draw it again. Over weeks, your eye will calibrate to perspective cues automatically.
Study master works: Analyze paintings by Canaletto, Gustave Caillebotte, or Edward Hopper. Overlay digital grids or trace vanishing points on reproductions. Notice how they bend or exaggerate perspective for compositional effect. Learning the rules includes understanding when and why to break them.
Perspective is to painting what the bridle is to the horse, the rudder to a ship.
— Leonardo da Vinci
This Renaissance observation underscores perspective's role not as decoration but as the fundamental control system that steers a composition toward coherence and realism. Without it, even skilled rendering drifts into visual confusion.
Frequently Asked Questions About Perspective in Art
What is the difference between one point and two point perspective?
One point perspective uses a single vanishing point, ideal for scenes where the viewer faces a subject head-on—like a road or hallway extending straight ahead. Two point perspective employs two vanishing points on the horizon, suited for objects viewed at an angle, such as a building corner. The key difference: one point keeps horizontal lines parallel to the picture plane, while two point makes all horizontal edges converge.
Do I need to use perspective in every drawing?
Not always. Flat, decorative styles (think folk art or certain illustration approaches) intentionally avoid perspective to emphasize pattern and symbolism. Abstract work may ignore spatial depth entirely. However, any drawing aiming for realism or immersive space benefits from perspective principles, even if applied loosely. Portraits might use subtle atmospheric perspective in the background; figure drawings rely on foreshortening. The question isn't whether to use perspective, but how much and which type serves your intent.
What is a vanishing point and where do I place it?
A vanishing point is the spot on the horizon line where parallel lines appear to converge. Placement depends on your composition. In one point perspective, centering the vanishing point creates symmetry; shifting it left or right adds dynamism. In two point perspective, spread vanishing points wide for gentle realism or close for dramatic distortion. The horizon line itself sits at the viewer's eye level, so a low horizon (viewer crouching) versus a high horizon (viewer elevated) changes which surfaces are visible.
Can you combine linear and atmospheric perspective?
Absolutely, and doing so strengthens spatial illusion. Linear perspective handles architecture, furniture, and geometric forms. Atmospheric perspective manages landscapes, skies, and organic elements. A cityscape might use two point perspective for buildings while applying atmospheric fade to distant blocks. An interior could employ one point perspective for the room's structure and atmospheric softening on background objects. The two systems address different aspects of depth and work seamlessly together.
What tools help with accurate perspective drawing?
A straightedge or ruler ensures convergence lines meet at vanishing points. Graph paper provides a ready-made grid for planning. A T-square or drafting triangle speeds up parallel and perpendicular lines. Digital tools like Clip Studio Paint offer perspective rulers that automatically align strokes to vanishing points. Some artists use string pinned to vanishing points on a large board, physically guiding their pencil along convergence paths. Tracing paper over reference photos helps analyze existing perspective before attempting original work.
How did Renaissance artists discover perspective?
Filippo Brunelleschi conducted experiments around 1415, painting the Florence Baptistery on a panel and viewing it through a peephole while holding a mirror. The mirror reflection matched the real building perfectly, proving that geometric projection could replicate visual experience. Leon Battista Alberti formalized these findings in his 1435 treatise Della Pittura, describing the "visual pyramid" and the picture plane as a window intersecting the viewer's sight lines. Artists like Masaccio, Uccello, and Piero della Francesca applied these principles, embedding mathematical grids into their compositions. The discovery revolutionized Western art, shifting painting from symbolic representation to optical realism.
Perspective transforms flat surfaces into windows onto believable worlds. Whether you're sketching a quiet street, designing a sci-fi cityscape, or painting a sunlit interior, understanding how convergence lines, vanishing points, and atmospheric gradations work gives you control over depth and spatial clarity. The techniques developed during the Renaissance remain foundational, but their application is endlessly flexible—strict or loose, realistic or stylized, simple or complex.
Practice the fundamentals methodically. Plot horizon lines and vanishing points before diving into details. Study how objects change size and orientation as they recede. Observe atmospheric effects in nature and replicate them in your work. Over time, perspective becomes intuitive, a toolkit you deploy without conscious effort. The goal isn't rigid adherence to geometric rules but the freedom to construct any space your imagination demands, grounded in the visual logic that makes art feel real.
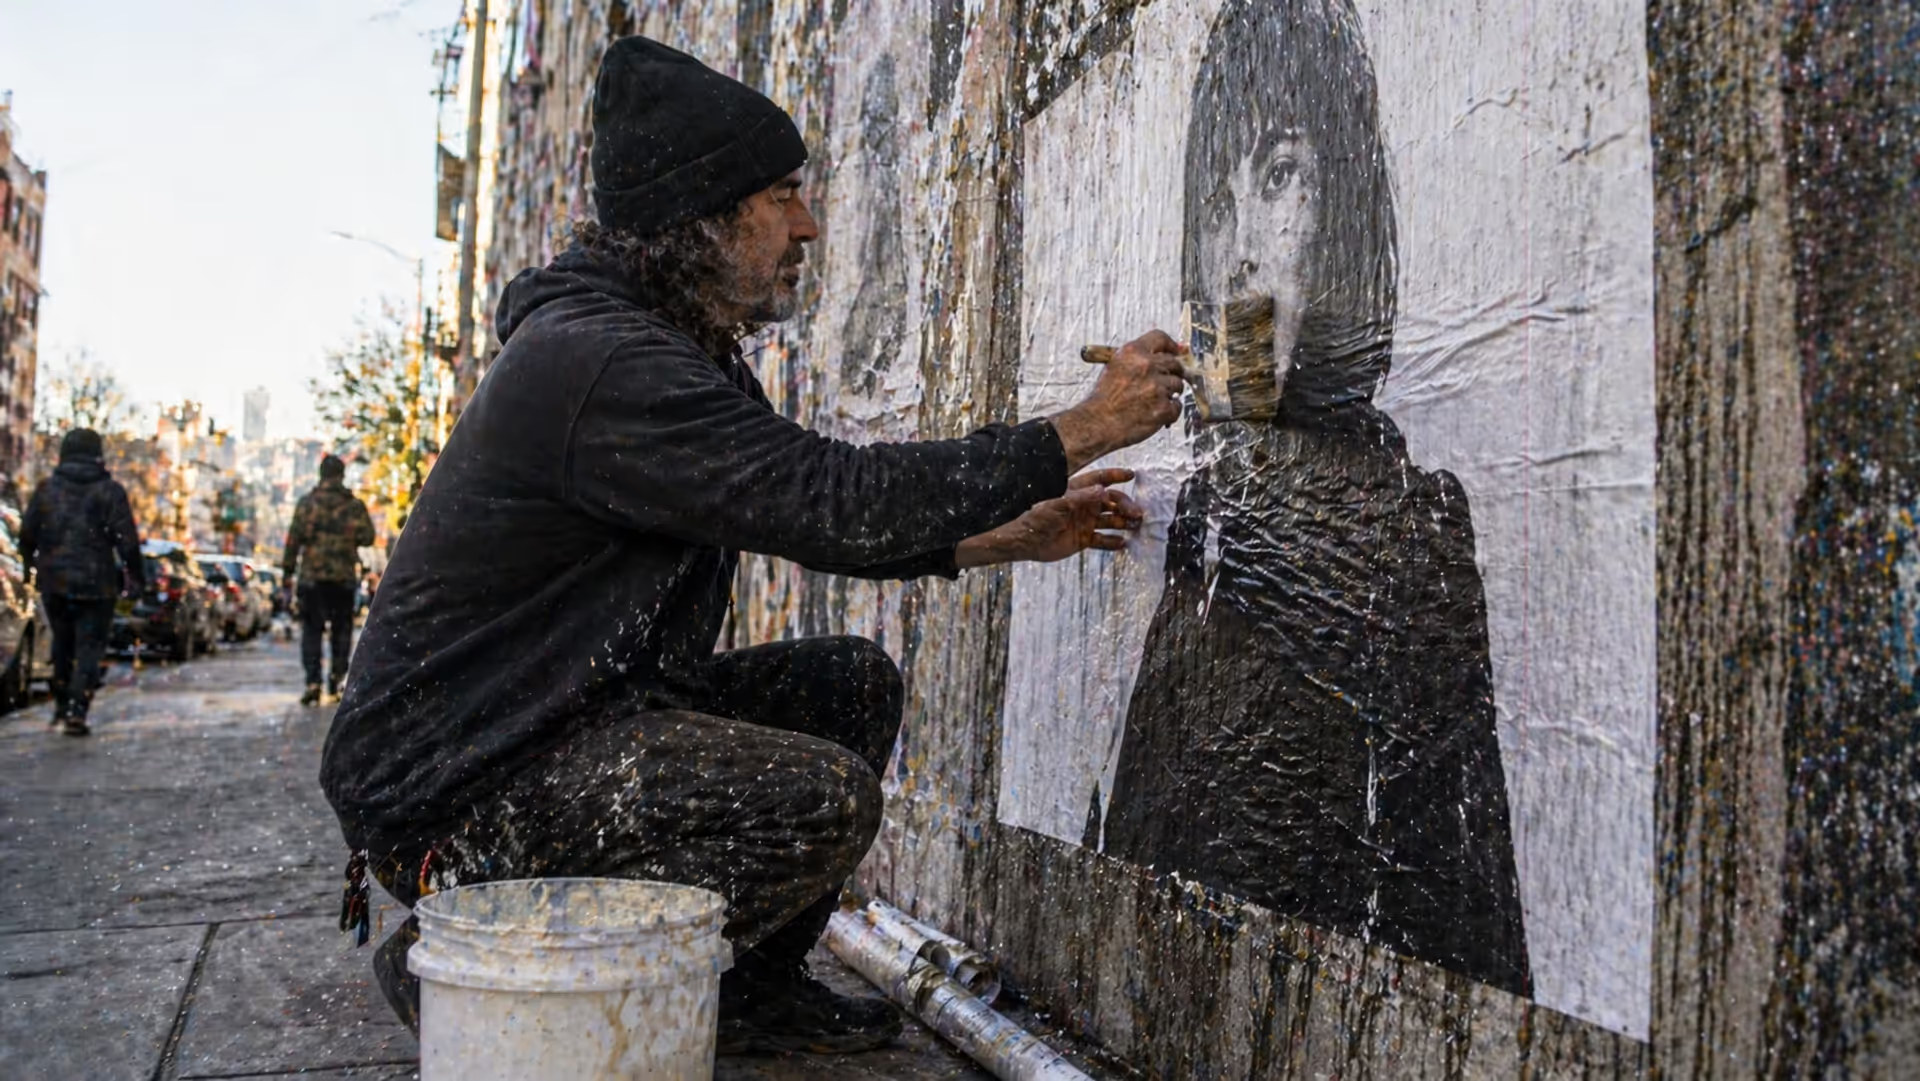
Master the wheatpaste street art technique with this complete guide covering adhesive recipes, poster installation methods, material selection, and legal considerations. Learn to create durable wheat paste art installations using affordable supplies and proven application techniques.
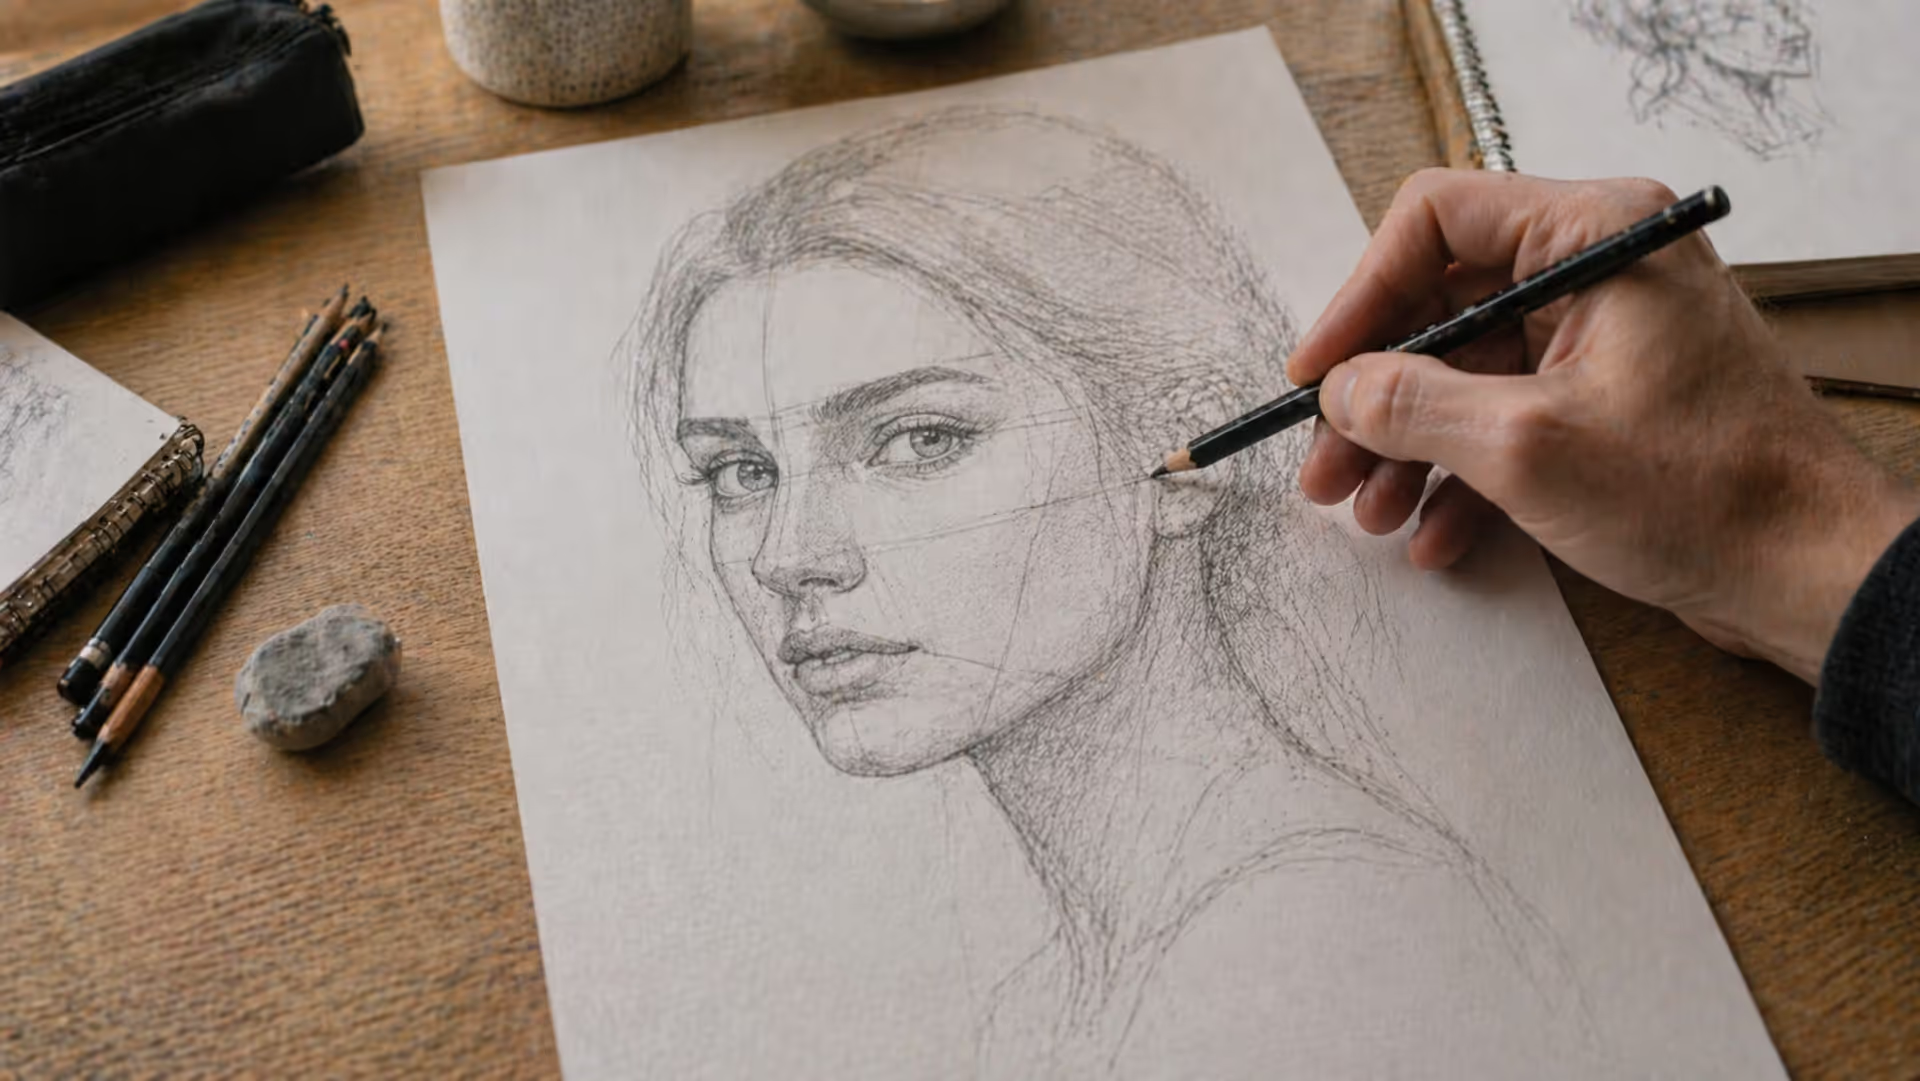
Learn to draw compelling three quarter view portraits with this comprehensive guide covering proportions, perspective, and step-by-step techniques. Discover why this angle creates depth and dimension, master foreshortening, and avoid common mistakes that flatten your portraits.
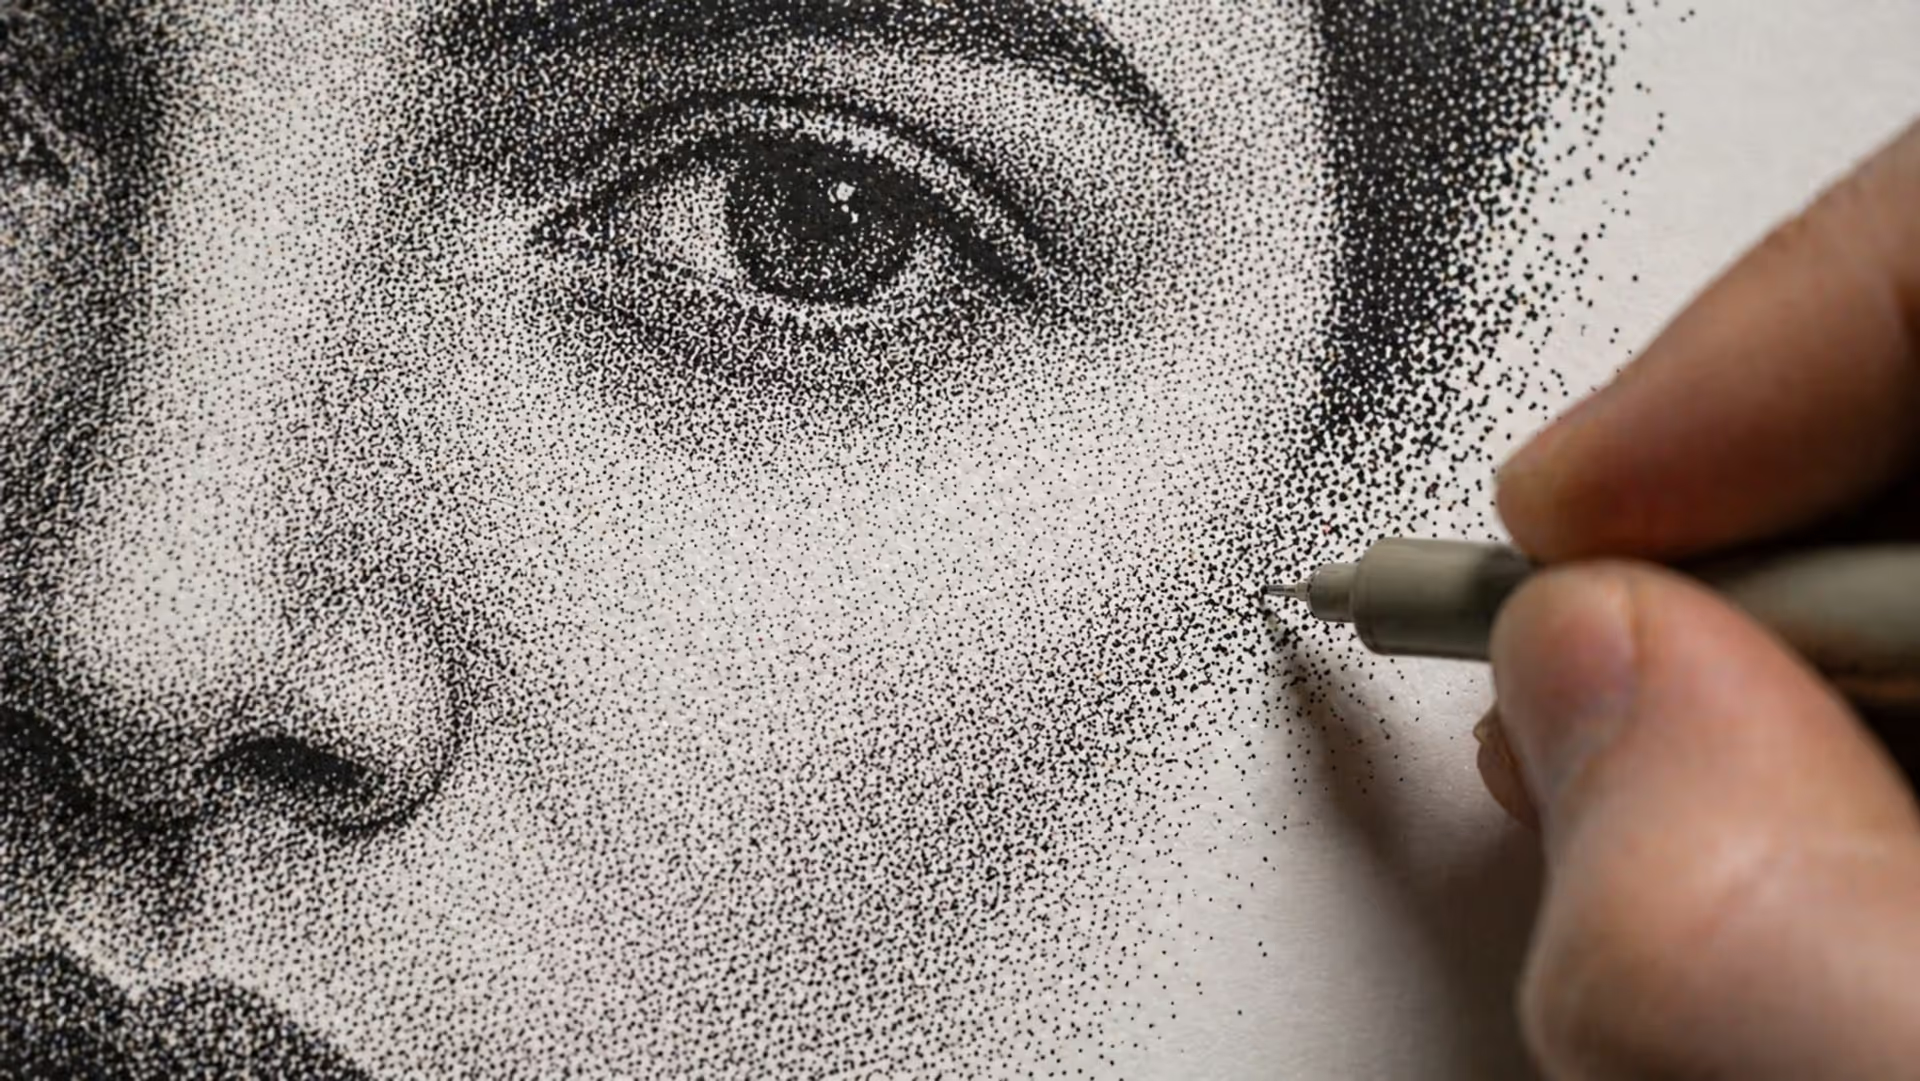
Stippling creates stunning artwork using only dots. This comprehensive guide covers everything from basic dot shading methods to advanced illustration techniques, including tool recommendations, step-by-step tutorials, and common mistakes to avoid.
The paper crane carries profound significance beyond its folded form. Discover how this Japanese symbol influences contemporary design, from geometric principles to visual metaphors, and learn the cultural context behind 1,000 cranes, peace symbolism, and minimalist aesthetics.
The content on this website is provided for general informational and educational purposes only. It is intended to explain concepts related to digital design, visual art, color theory, art techniques, design principles, and design history.
All information on this website, including articles, guides, and examples, is presented for general educational purposes. Creative outcomes may vary depending on individual skill, tools, and practice.
This website does not provide professional design services or guarantee results, and the information presented should not be used as a substitute for formal education or professional consultation.
The website and its authors are not responsible for any errors or omissions, or for any outcomes resulting from decisions made based on the information provided on this website.