Wheatpasting transforms ordinary paper and flour into a powerful medium for public expression. This centuries-old technique has become a cornerstone of contemporary street art, allowing artists to plaster walls with bold imagery using nothing more than homemade adhesive and printed posters. Whether you're planning your first wheat paste art installation or refining your approach, understanding the materials, methods, and considerations behind this accessible art form will help you execute projects that last.
What Is Wheatpasting and Why Artists Use It
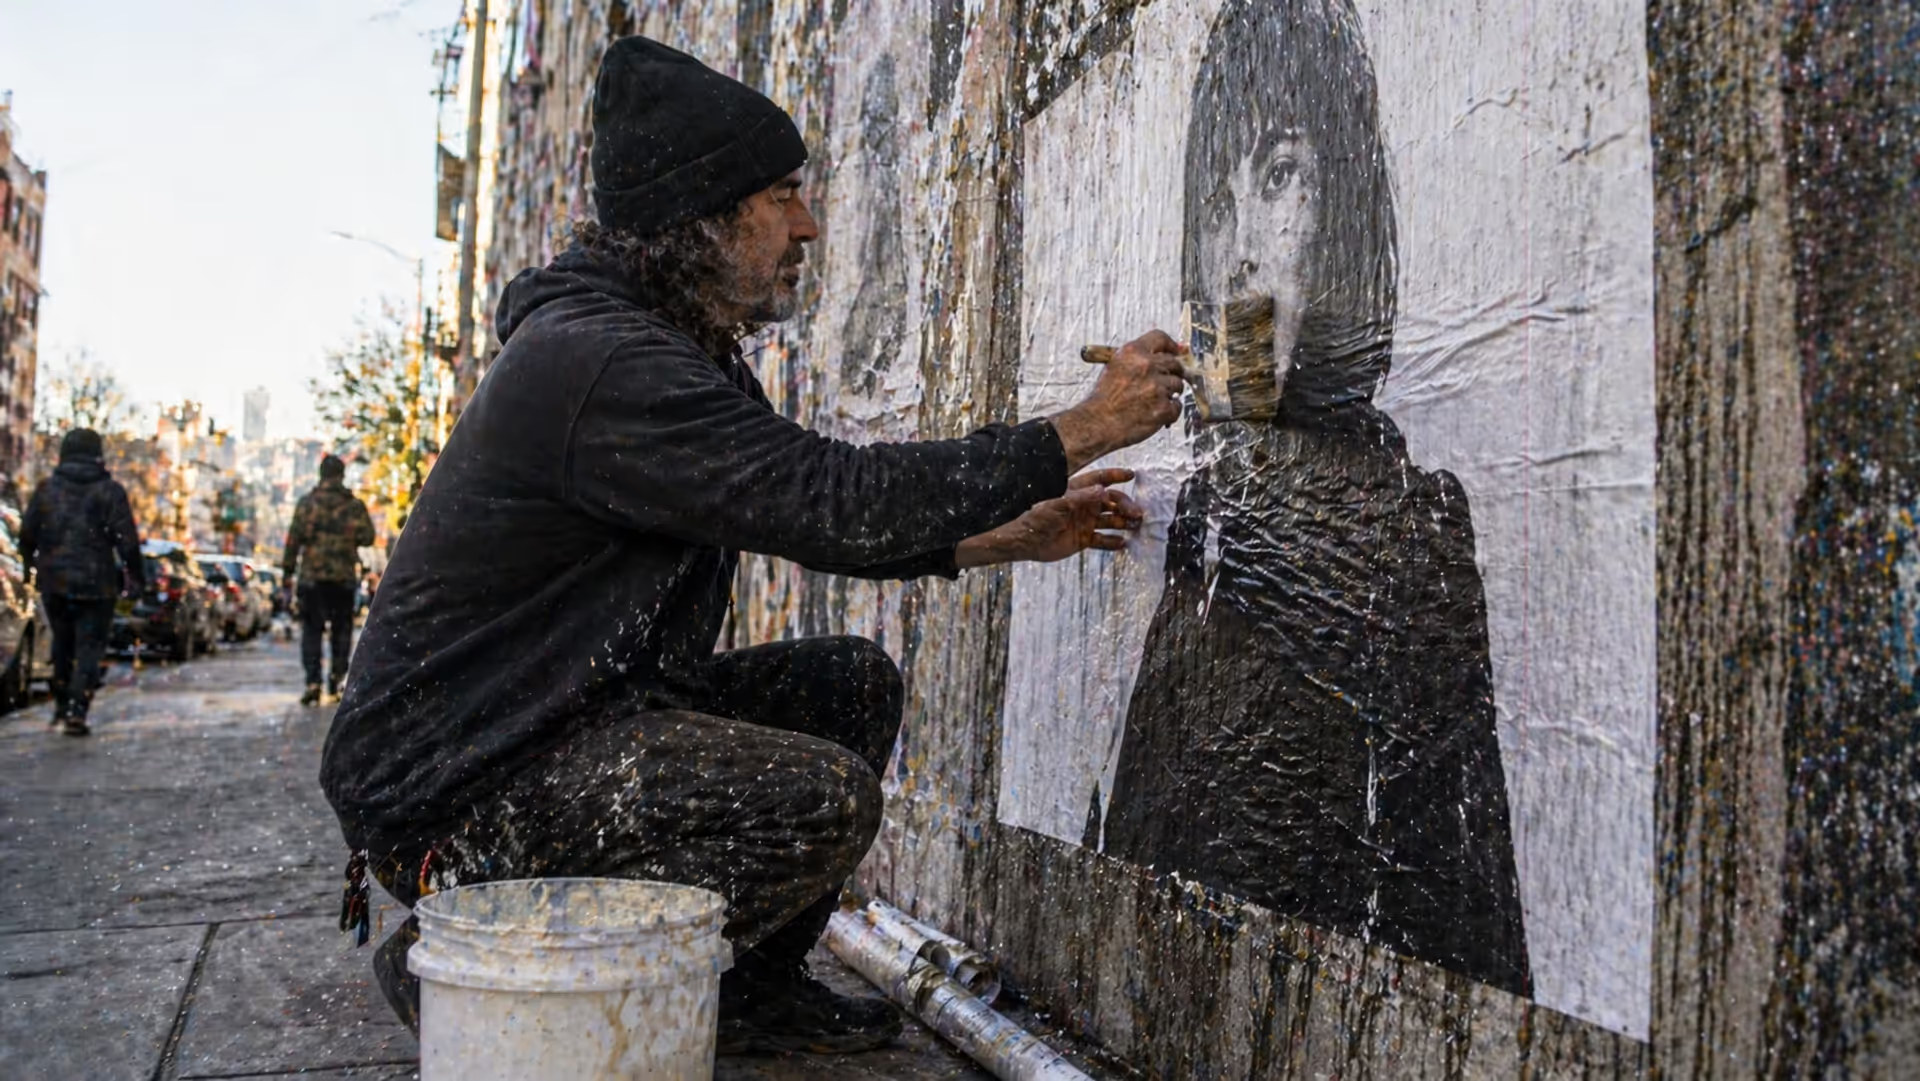
Wheatpasting is a street art poster technique that uses flour-based adhesive to affix paper artwork to walls, buildings, and other vertical surfaces. The paste up art method involves coating paper with a sticky mixture made from wheat flour and water, then pressing it against a surface where it dries into a semi-permanent bond.
The technique dates back to ancient civilizations that used grain-based pastes for construction and bookbinding. By the 19th century, bill posters relied on wheat paste to advertise circuses and theater productions across American cities. The wheatpaste street art technique gained countercultural momentum during the 1960s and 1970s when activists used it to spread political messages without expensive printing costs or official approval.
Artists favor this method for several practical reasons. The ingredients cost pennies and can be found in any grocery store. Unlike spray paint, wheat paste produces no toxic fumes and requires no specialized equipment. Large-scale installations become feasible because you can print posters at home or through affordable services, then apply dozens in a single night. The temporary nature of the medium also appeals to artists who view impermanence as integral to street art's philosophy—rain, sun, and time eventually erase the work, making room for new voices.
Legal status varies dramatically by location. Some cities classify wheatpasting as vandalism or illegal posting, with fines ranging from $50 to $500 for first offenses. Other municipalities tolerate it on certain surfaces or have designated legal walls. Private property always requires owner permission. Public property falls into gray areas where enforcement depends on local ordinances, the surface affected, and whether you're caught in the act.
Wheatpaste is the great equalizer in street art. You don't need wealth or connections—just conviction and a bucket of paste. That accessibility has kept the medium vital for generations of artists who need to speak but can't afford traditional platforms.
— Shepard Fairey
Materials You Need for Wheatpaste Projects
Successful installations start with proper supplies. You'll need paper, adhesive ingredients, application tools, and protective gear. Skimping on materials leads to peeling posters, wasted trips, and frustration.
Choosing the Right Paper for Poster Installation
Newsprint works best for beginners. It's cheap, absorbs paste readily, and conforms to textured surfaces without tearing. The downside: it deteriorates quickly in wet weather, lasting only days in humid climates.
Standard copy paper (20-24 lb) offers more durability while remaining affordable. It handles moderate weather but can bubble if over-saturated with paste. Many artists use this for multi-layer installations where slight imperfections disappear under subsequent sheets.
Poster paper (60-80 lb) provides professional results. The heavier weight resists tearing during application and withstands rain better than lighter stocks. However, it requires more paste and doesn't conform as easily to irregular surfaces like brick or concrete.
Avoid glossy or coated papers entirely. The coating prevents paste absorption, causing the poster to slide off walls or peel within hours. Similarly, cardboard is too rigid for most vertical surfaces and requires excessive adhesive.
Tools and Equipment Checklist
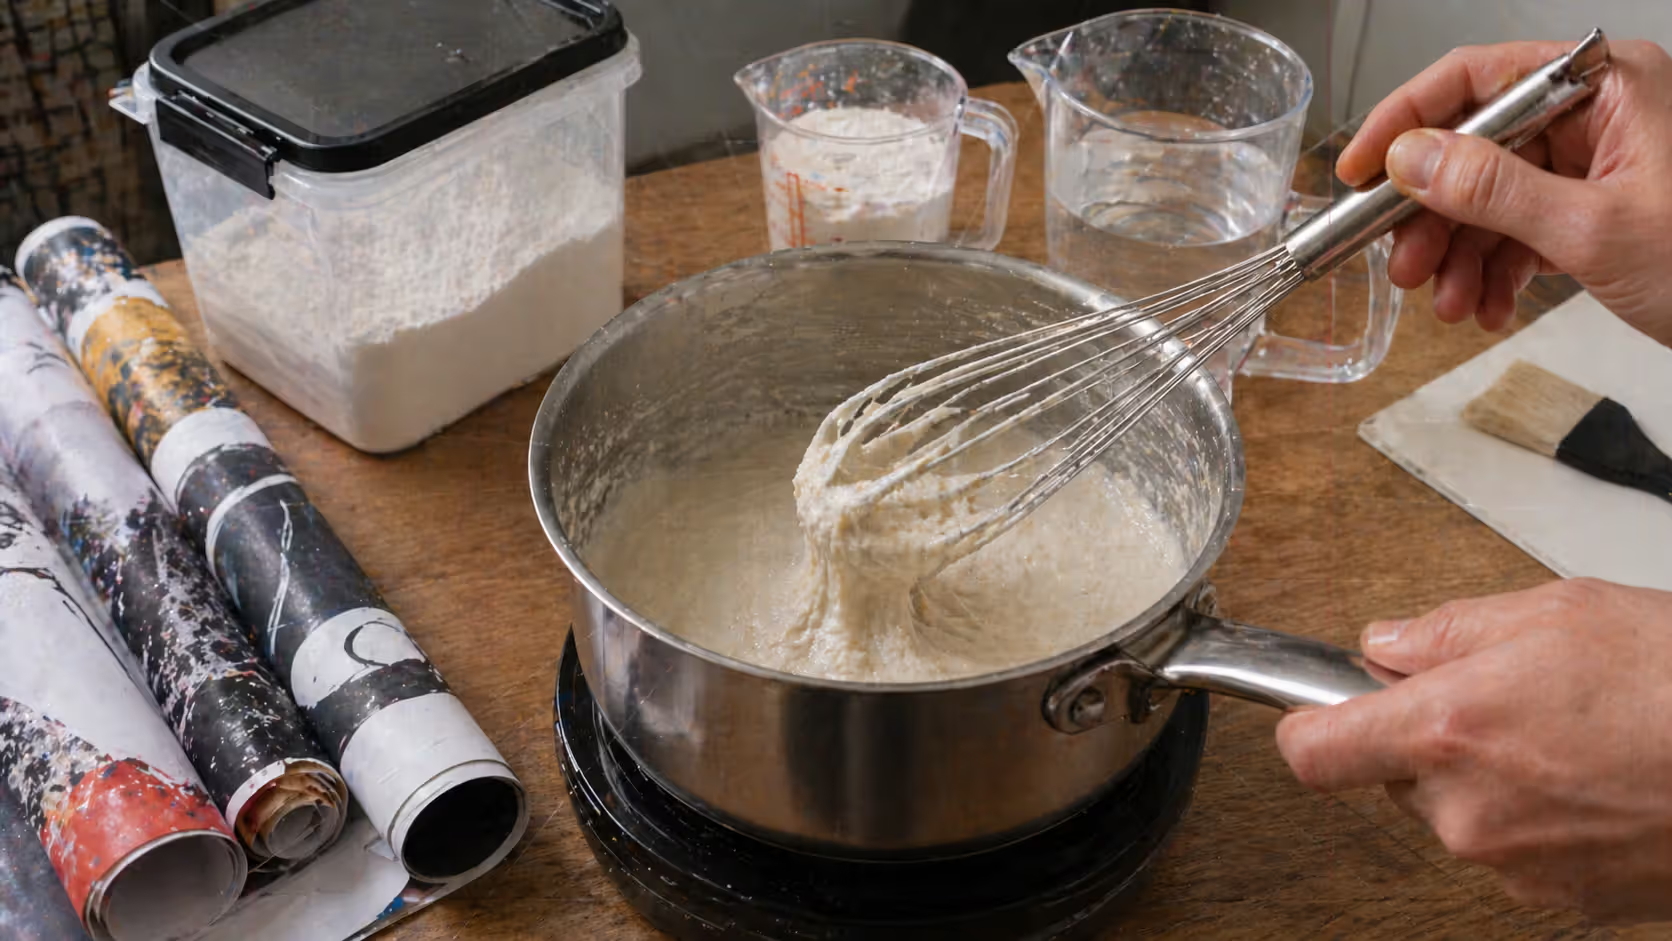
For paste preparation: - Large pot or bucket (2-3 gallon capacity) - Whisk or paint stirrer - Measuring cups - Stove or hot plate (for cooked recipes) - Storage container with lid
For application: - Wide paintbrushes or foam rollers (4-6 inches wide) - Smaller brush for edges and detail work - Plastic drop cloth or tarp - Spray bottle filled with water - Sponge or squeegee for smoothing - Wet rags for cleanup
Protective gear: - Disposable gloves (paste gets everywhere) - Old clothes you don't mind ruining - Closed-toe shoes with good tread - Headlamp or flashlight for night work
Budget at least $30-50 for a complete first-time kit. Most items last through multiple projects, making subsequent installations much cheaper.
How to Make Wheat Paste Adhesive at Home
The wheat paste adhesive recipe requires only flour and water, though variations add strength or adjust working time. All three methods below produce usable adhesive—choose based on your timeline and durability needs.
Recipe Type
Ingredients
Prep Time
Durability
Best Uses
Basic Cooked
1 cup flour, 4 cups water, 1 tbsp sugar
20 min
1-2 weeks outdoors
General installations, moderate weather
Heavy-Duty
1 cup flour, 1 cup wallpaper paste, 5 cups water, 2 tbsp white glue
25 min
3-4 weeks outdoors
High-traffic areas, rainy climates
Quick No-Cook
1 cup flour, 2 cups cold water
5 min
3-5 days outdoors
Practice runs, temporary installations
Basic cooked method (most popular):
Mix 1 cup flour with 1 cup cold water in a bowl until smooth and lump-free
Bring 3 cups water to boil in a large pot
Add flour mixture to boiling water while whisking constantly
Reduce heat to low and stir for 10-15 minutes until paste thickens to pancake batter consistency
Add 1 tablespoon sugar (helps prevent mold)
Remove from heat and let cool completely before use
The paste should coat a spoon but still drip slowly. Too thick? Add water by the tablespoon. Too thin? Simmer longer or whisk in small amounts of flour mixed with cold water.
Author: Sophie Calder;
Source: crafterholic.com
Heavy-duty variation:
Follow the basic method but incorporate 1 cup commercial wallpaper paste powder with the flour in step one. After cooking, stir in 2 tablespoons white glue. This creates stronger adhesion and water resistance, crucial for installations you want to last through multiple rainstorms.
Quick no-cook method:
Combine 1 cup flour with 2 cups cold water in a jar. Shake vigorously for 2-3 minutes until no lumps remain. The consistency will be thinner than cooked paste but still functional. Use immediately—this version spoils within 24 hours even when refrigerated.
Storage tips:
Transfer cooled paste to airtight containers. Refrigerate for up to one week. A thin layer of water may separate on top; simply stir before use. If you smell sourness or see mold, discard the batch. For longer storage, freeze paste in ziplock bags for up to three months. Thaw overnight in the refrigerator and remix before application.
Step-by-Step Wheatpaste Application Technique
Proper technique separates posters that last weeks from those that peel overnight. The urban art installation method requires attention to surface prep, paste application, and environmental conditions.
Surface preparation:
Scout locations during daylight. Look for smooth or slightly textured surfaces—painted concrete, metal doors, wooden construction barriers, and brick all work well. Avoid surfaces with loose paint or heavy texture that prevents contact between paper and wall.
Wipe down the target area with a damp cloth to remove dust, cobwebs, and grime. Paste bonds poorly to dirty surfaces. Check for moisture; wet walls prevent proper adhesion. If the surface is damp, wait for it to dry or choose another location.
Application process:
First paste layer: Brush a generous coat of paste directly onto the wall in an area slightly larger than your poster. Don't be stingy—you want full coverage with no dry spots.
Position the poster: While the wall paste is still wet, press your poster against it. Start from the top center and work outward. For large pieces, have a partner hold the bottom while you align the top.
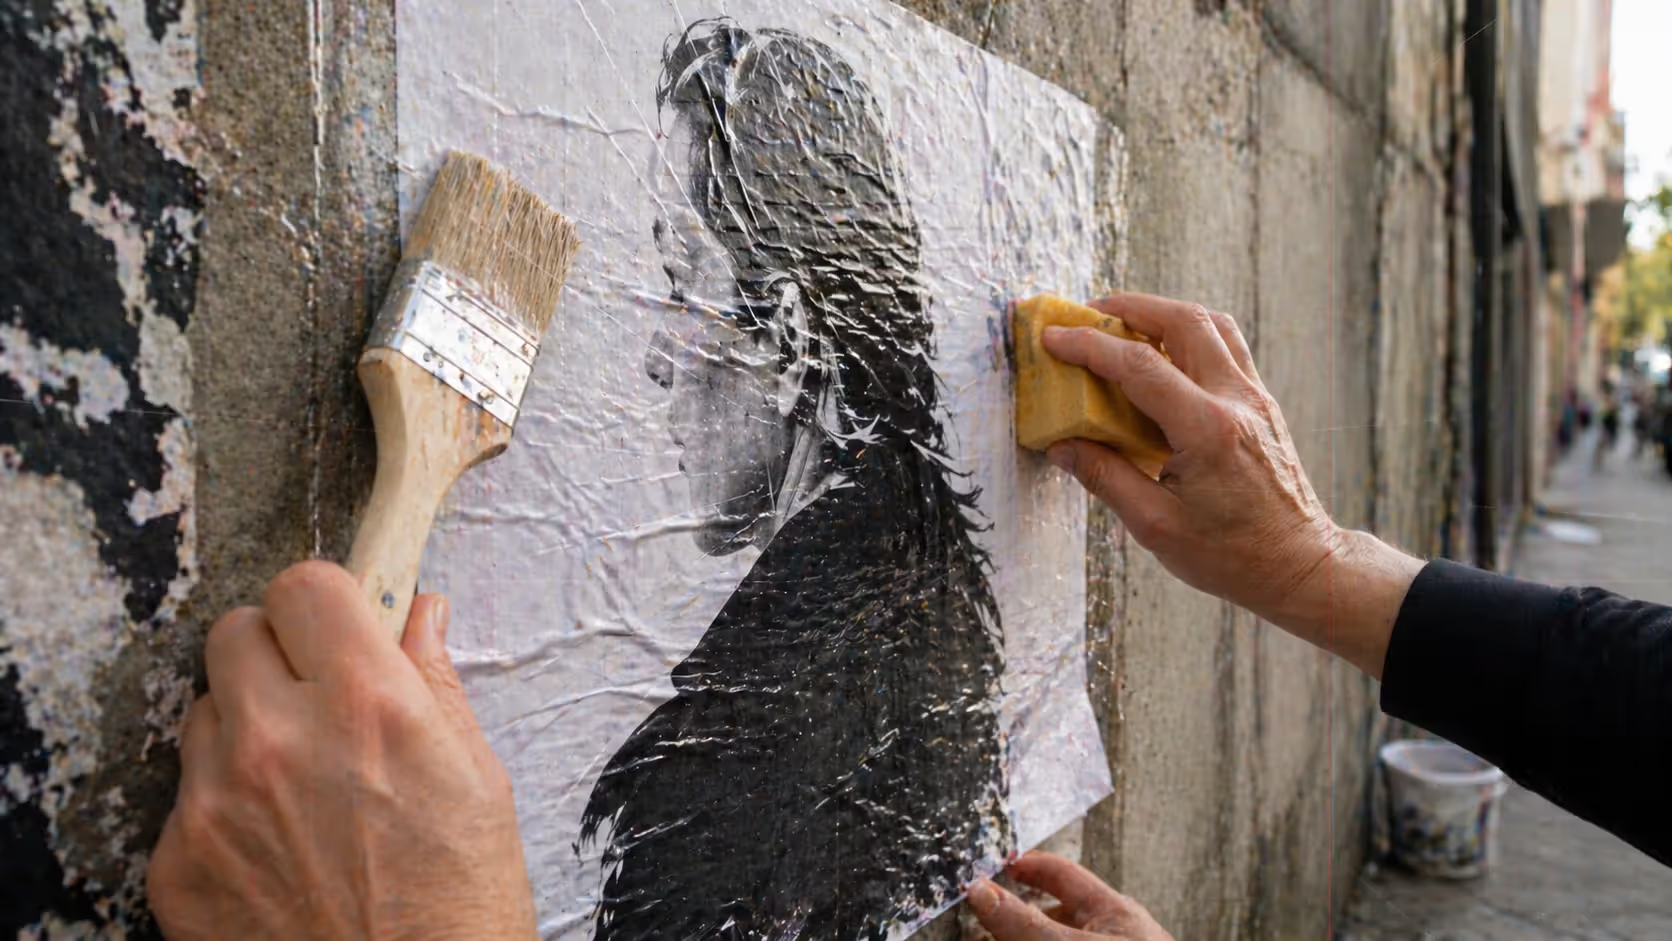
Second paste layer: Immediately brush paste over the entire surface of the poster, working from center to edges. Use firm, sweeping strokes. This saturates the paper and creates a sandwich of paste-paper-paste that bonds everything together.
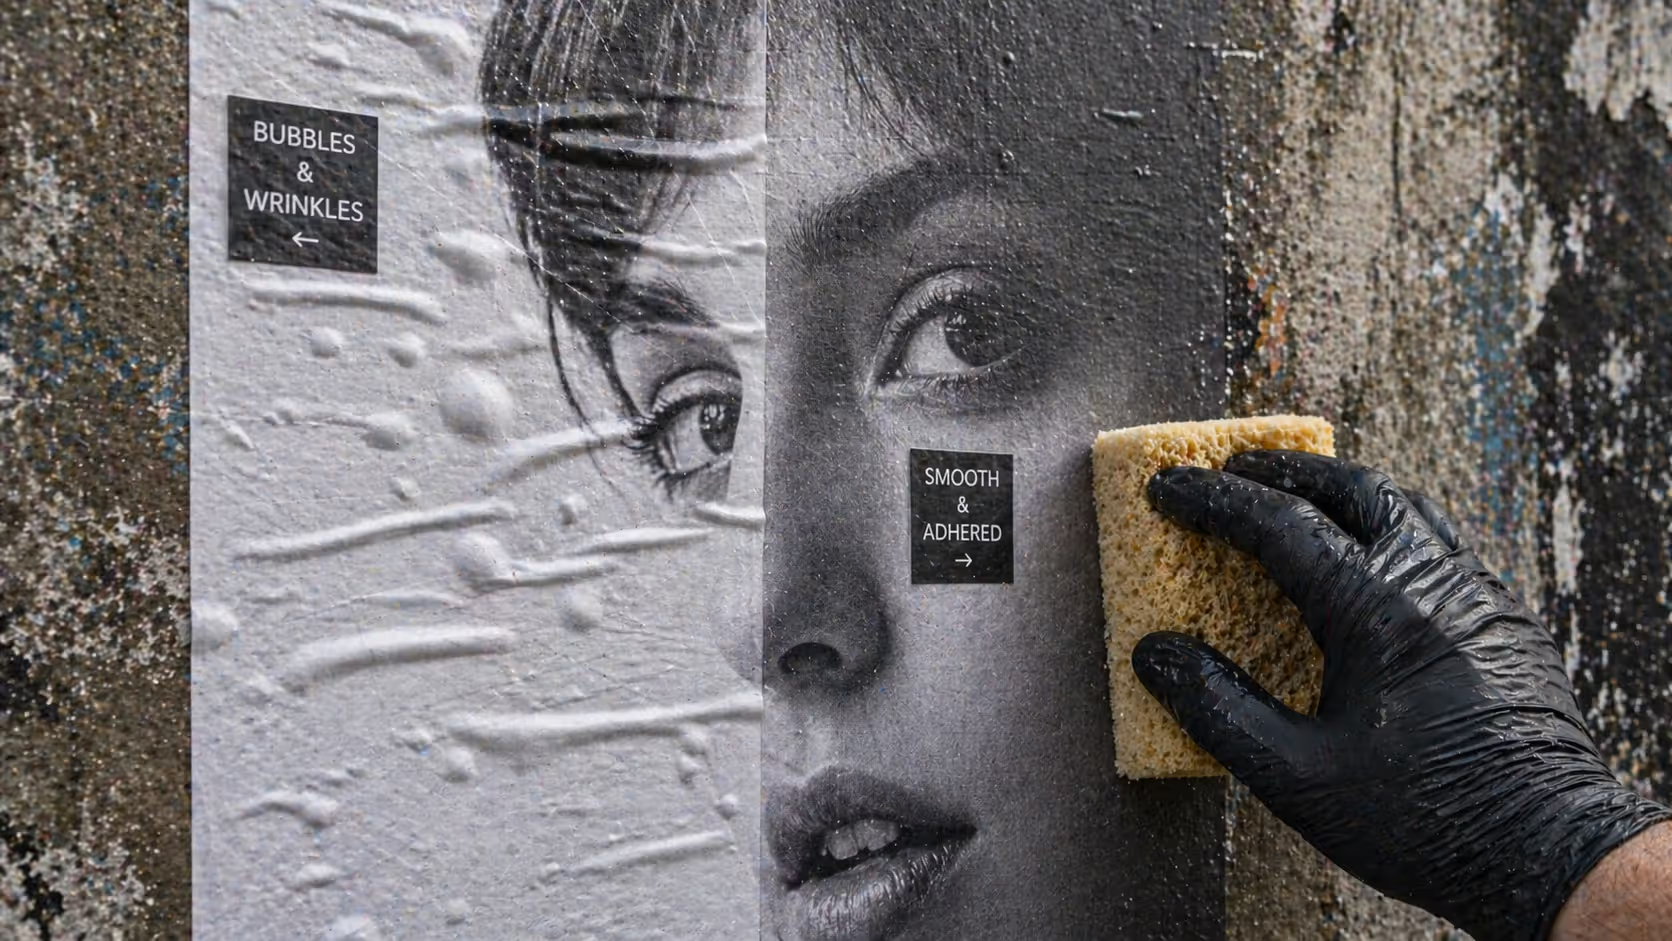
Remove air bubbles: Use a squeegee, sponge, or your gloved hand to smooth the poster from center outward. Push trapped air and excess paste toward the edges. Small bubbles will shrink as the paste dries, but large pockets need immediate attention.
Seal the edges: Apply extra paste around the perimeter, especially corners. Edges peel first, so build up adhesive in these vulnerable areas.
Multi-layer technique:
For added durability and visual depth, apply a second poster over the first while both are still wet. The layers fuse together, creating a thicker, more weather-resistant installation. Some artists build up 3-4 layers, alternating between images or using blank newsprint as backing layers.
Drying time and weather:
Paste needs 2-4 hours to set in dry conditions, longer in humidity. Avoid rain within 6 hours of application if possible—fresh paste will simply wash away. Ideal conditions are dry nights with temperatures above 50°F. Cold slows drying and can prevent proper bonding.
Wind presents a challenge for large posters. Paste the top edge first to anchor the poster, then work quickly downward before wind gets underneath. Alternatively, pre-paste the poster by laying it face-down, coating the back, then carrying it to the wall and pressing it in place.
Author: Sophie Calder;
Source: crafterholic.com
Common Mistakes When Installing Paste Up Art
Even experienced practitioners encounter problems. Recognizing these issues helps you adjust technique before ruining materials or wasting time.
Bubbles and wrinkles:
Caused by trapped air, insufficient paste, or applying paper to dry walls. The fix: use more paste than seems necessary and work methodically from center to edges. For stubborn bubbles, carefully lift the affected section, add paste, and re-smooth.
Wrinkles usually mean you pulled or stretched the paper during application. Newsprint and thin papers are especially prone to this. Work gently, letting the paste's wetness make the paper pliable rather than forcing it into position.
Wrong surface choices:
Porous brick absorbs paste too quickly, leaving insufficient adhesive on the surface. Solution: apply an extra-thick first coat to the wall, or use the heavy-duty recipe with added wallpaper paste.
Highly textured stucco prevents full contact between paper and wall. Small posters may work, but large installations will have contact points with air gaps between. Choose smoother surfaces nearby.
Weather timing errors:
Applying paste in direct sunlight causes it to dry too fast, preventing proper bonding. The paper sets before you can smooth it. Work in shade or at night.
High humidity extends drying time dramatically. Paste applied on a 90% humidity night may still be wet eight hours later, vulnerable to morning dew. Check weather forecasts and choose drier nights when possible.
Adhesive consistency problems:
Paste too thick won't spread evenly or penetrate paper fibers. It creates lumpy applications that dry with gaps. Thin it with water until it flows like heavy cream.
Paste too thin runs down the wall and soaks through paper without providing holding power. Posters sag or slide before drying. Cook longer or add more flour to thicken.
Removal difficulties:
Wheat paste is designed to be removable with water and scraping, but dried layers can be stubborn. If you need to remove your own work, spray it thoroughly with water, wait 10 minutes for the paste to soften, then scrape with a plastic putty knife. Multiple applications may be necessary for heavy-duty recipes.
Author: Sophie Calder;
Source: crafterholic.com
Legal and Ethical Considerations for Public Art Installation
The guerrilla art installation approach exists in tension with property rights and local regulations. Understanding the legal landscape helps you make informed decisions about where and how to work.
Permission versus guerrilla placement:
Legal wheatpasting requires written permission from property owners. Some businesses welcome murals and poster art on their exterior walls, viewing it as free decoration or community engagement. Approach owners during business hours with examples of your work and a clear proposal about size, content, and duration.
Abandoned buildings tempt many artists, but they still have owners—banks, municipalities, or individuals. Posting without permission remains illegal trespassing and vandalism even if the property appears neglected.
Public art wheatpasting programs exist in cities like Philadelphia, Los Angeles, and Austin. These initiatives provide legal walls, sometimes requiring application approval but offering legitimate spaces for poster art. Research local arts councils and street art organizations for opportunities.
Private versus public property:
Private property (businesses, homes, fences) requires owner consent, period. Posting without permission can result in vandalism charges, fines, and civil lawsuits for cleanup costs.
Public property (government buildings, infrastructure, parks) falls under municipal codes. Many cities specifically prohibit posting bills or advertisements on public structures. Penalties vary: some locations issue warnings, others impose immediate fines of $100-500.
Transit property (bus stops, subway stations, utility boxes) typically has the strictest enforcement because authorities view unauthorized posting as both vandalism and potential safety hazards that obscure official signage.
Potential consequences:
Criminal charges for vandalism can include fines up to $1,000 and community service for first offenses. Repeat violations may result in misdemeanor charges with potential jail time in some jurisdictions.
Civil liability means property owners can sue for cleanup costs, which may exceed criminal fines. Professional removal services charge $50-200 per poster depending on surface and adhesive strength.
Permanent records affect employment, housing applications, and educational opportunities. While a single wheatpasting violation seems minor, it creates a criminal record in many states.
Community impact:
Consider the neighborhood context. Gentrifying areas often have residents who view street art as either cultural vitality or quality-of-life decline. Posting on small local businesses without permission can burden owners with cleanup costs they can't afford.
Content matters. Political messages, social commentary, and artistic expression receive different community reactions. Offensive or targeted content can provoke backlash against street art broadly, leading to increased enforcement that affects all artists.
Some practitioners adopt a harm-reduction approach: focus on corporate property, construction barriers, and utility boxes rather than small businesses or residential buildings. Others seek permission for 80% of installations and reserve guerrilla tactics for high-impact political work where the message justifies the risk.
Frequently Asked Questions About Wheatpasting
How long does wheat paste last on walls?
Basic wheat paste installations last 1-3 weeks outdoors depending on weather exposure. Direct rain shortens this to days, while covered areas or dry climates can preserve posters for months. The heavy-duty recipe with wallpaper paste and glue extends outdoor life to 4-6 weeks. Indoor applications last indefinitely until deliberately removed. Paper quality matters more than paste strength for longevity—heavier poster stock withstands weathering better than newsprint.
Is wheatpasting illegal?
Legality depends entirely on permission and location. Posting on property you own or have written consent to use is legal everywhere. Posting without permission on private or public property constitutes vandalism in most U.S. jurisdictions, with penalties ranging from warnings to fines of $100-1,000. Some cities have designated legal walls or public art programs that permit wheatpasting. Always research local ordinances and seek permission when possible to avoid legal consequences.
Can I use wheat paste indoors?
Yes, wheat paste works excellently indoors for temporary installations, art projects, and decorating. The lack of weather exposure means posters last until removed. Apply the same technique as outdoor installations but use less paste since you don't need weather resistance. Wheat paste removes easily from most indoor surfaces with warm water and gentle scraping, making it ideal for renters or temporary exhibitions. Test a small area first on delicate surfaces like wallpaper or painted drywall.
What's the difference between wheatpaste and wallpaper paste?
Wheat paste is homemade from flour and water, creating a basic adhesive suitable for temporary installations. Wallpaper paste is a commercial product containing methylcellulose or similar compounds, designed for stronger, longer-lasting bonds. Wallpaper paste costs more but offers better water resistance and mold prevention. Many artists combine both—adding wallpaper paste powder to wheat paste recipes creates a hybrid with improved durability while maintaining the cost savings of homemade adhesive.
How do you remove wheatpaste art?
Spray the poster thoroughly with water from a spray bottle or hose. Wait 10-15 minutes for moisture to penetrate and soften the dried paste. Use a plastic putty knife or scraper to gently lift the paper, working from edges toward the center. Stubborn areas need additional water application. For thick installations or heavy-duty paste, repeat the process 2-3 times. A stiff brush and soapy water remove paste residue from the wall. Avoid metal scrapers that can damage surfaces.
Does weather affect wheat paste application?
Weather dramatically impacts success. Rain within 6 hours of application washes away fresh paste before it bonds. High humidity (above 70%) slows drying and can prevent proper adhesion. Temperatures below 45°F inhibit bonding—paste may freeze before setting. Direct sunlight causes paste to dry too quickly, preventing smooth application. Ideal conditions are dry nights with 50-70°F temperatures and low wind. Check forecasts and choose installation nights carefully. Morning dew can affect overnight applications, so factor in humidity patterns.
Wheatpasting offers an accessible entry point into public art creation, requiring minimal investment and simple techniques that anyone can master. The combination of homemade adhesive, printed posters, and strategic placement lets you transform urban spaces with your vision. Success depends on understanding material properties—choosing appropriate paper, mixing paste to the right consistency, and timing applications around weather conditions.
The legal and ethical dimensions require equal attention to technical skills. Permission-based installations provide legitimate opportunities for public art, while guerrilla approaches carry real consequences that extend beyond fines to affect your permanent record. Weighing the message's importance against potential penalties helps you make strategic decisions about when and where to work.
Start with small projects on legal surfaces to develop your technique. Experiment with different paste recipes and paper weights to find combinations that suit your climate and artistic goals. As your skills improve, you'll develop intuition for surface selection, weather timing, and application methods that produce durable, professional-looking installations. Whether you pursue sanctioned public art or choose the guerrilla path, wheatpasting remains one of street art's most democratic mediums—limited only by your creativity and willingness to get paste on your hands.
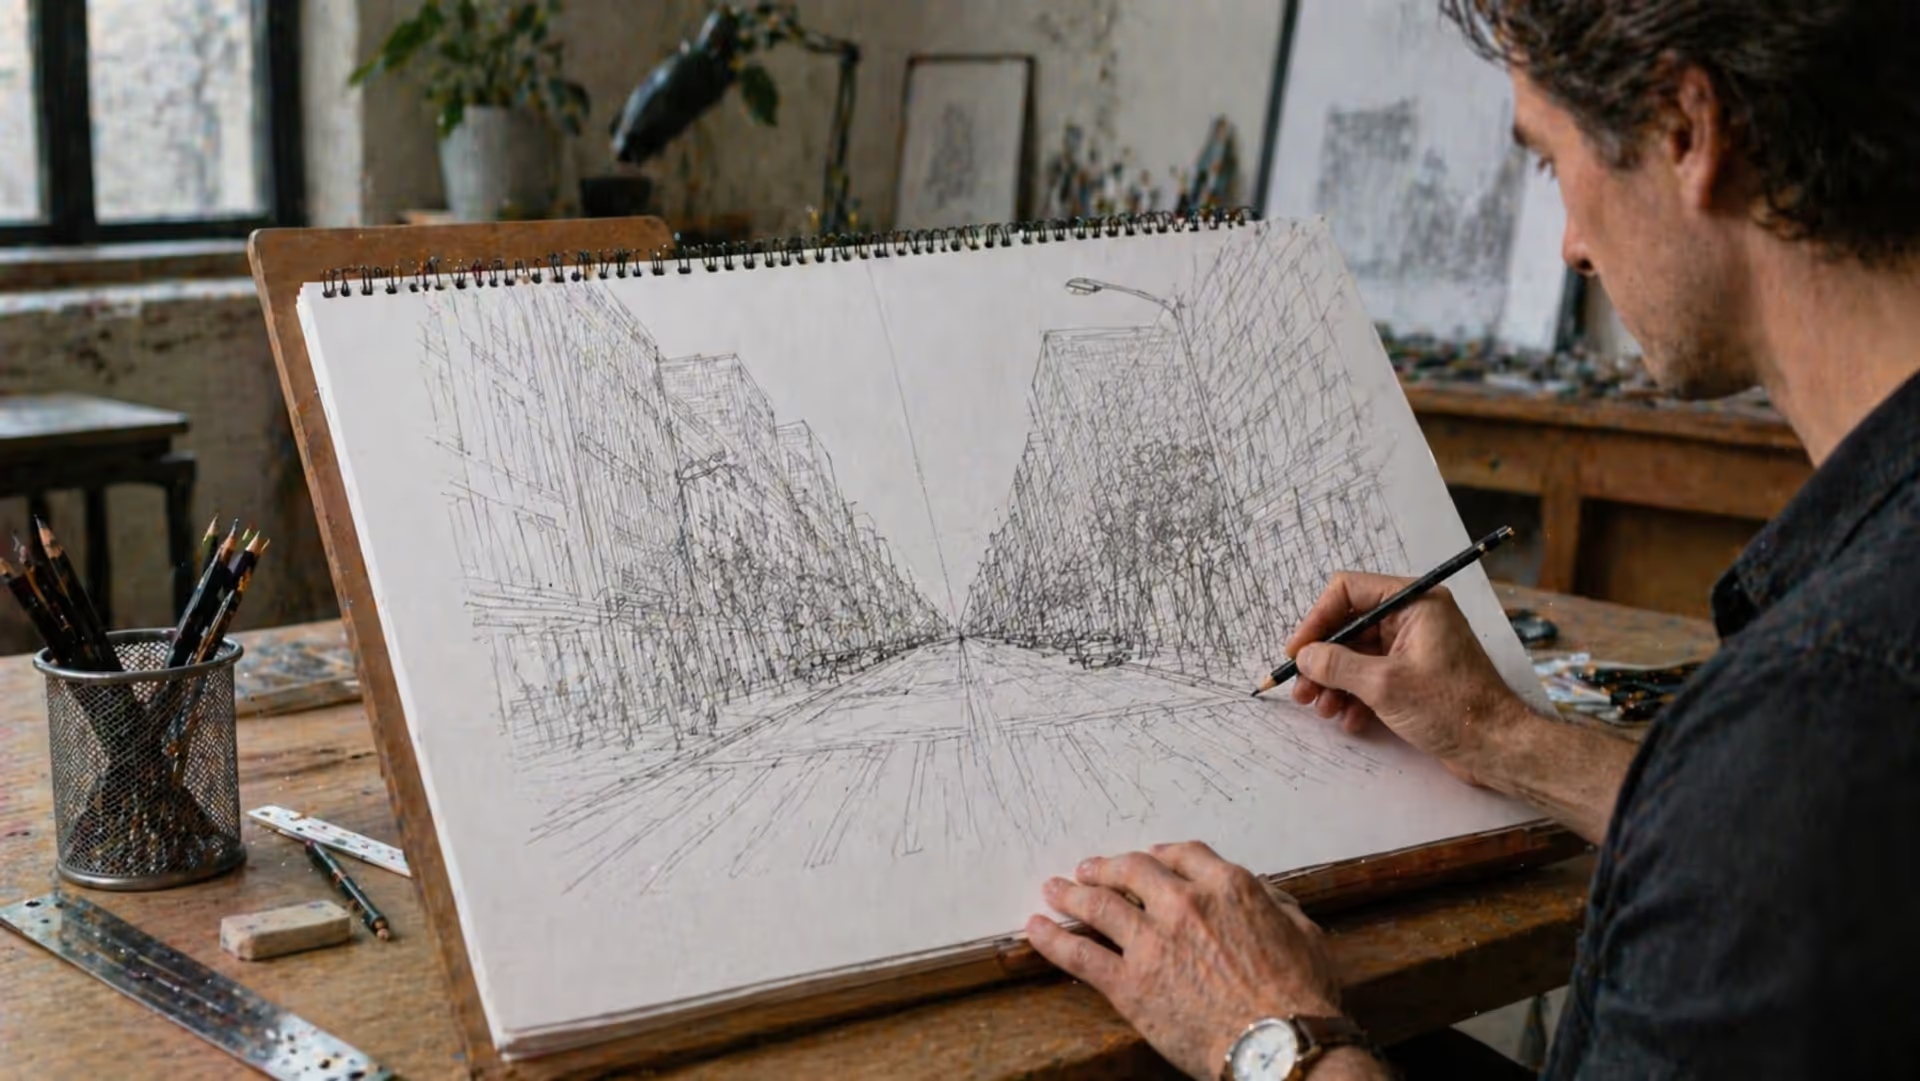
Perspective is the set of techniques artists use to represent three-dimensional space on a flat surface. It governs how objects appear smaller as they recede, how parallel lines converge toward a single point, and how atmospheric conditions affect color and clarity across spatial planes.
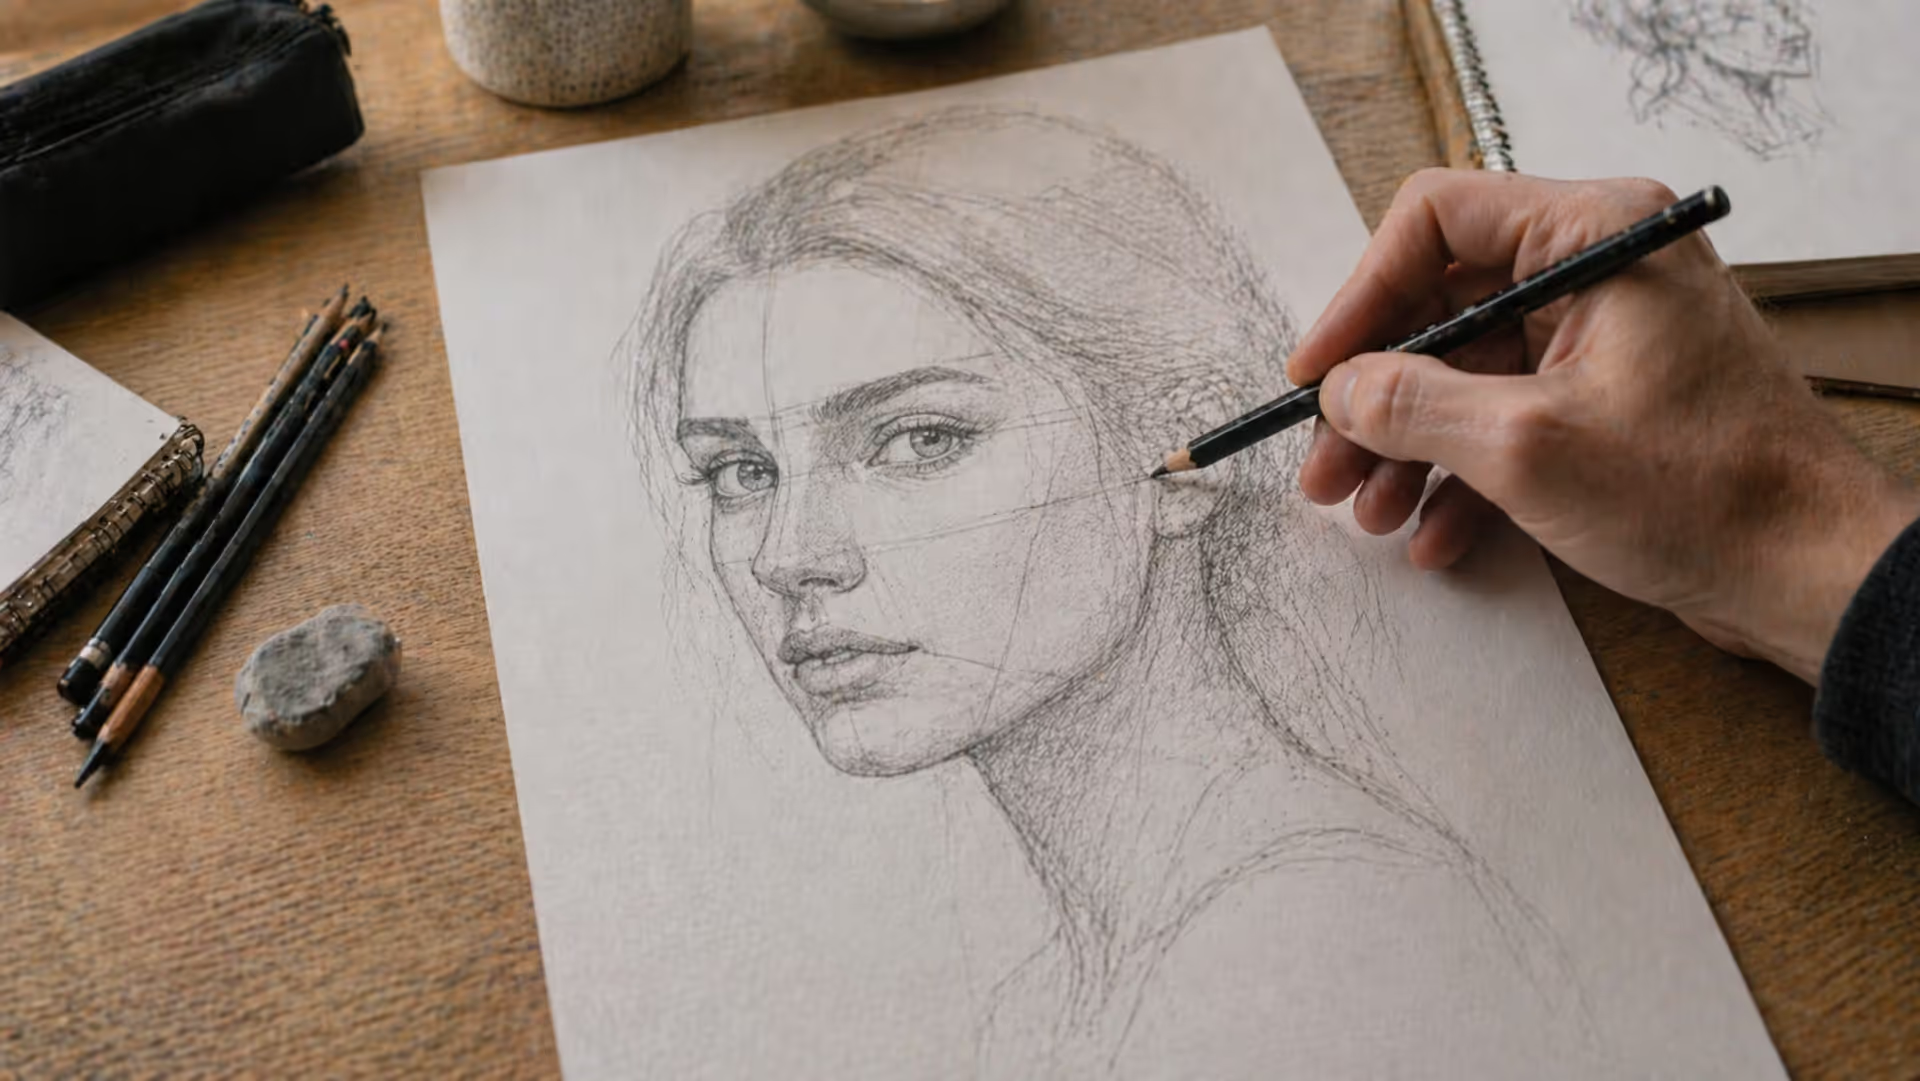
Learn to draw compelling three quarter view portraits with this comprehensive guide covering proportions, perspective, and step-by-step techniques. Discover why this angle creates depth and dimension, master foreshortening, and avoid common mistakes that flatten your portraits.
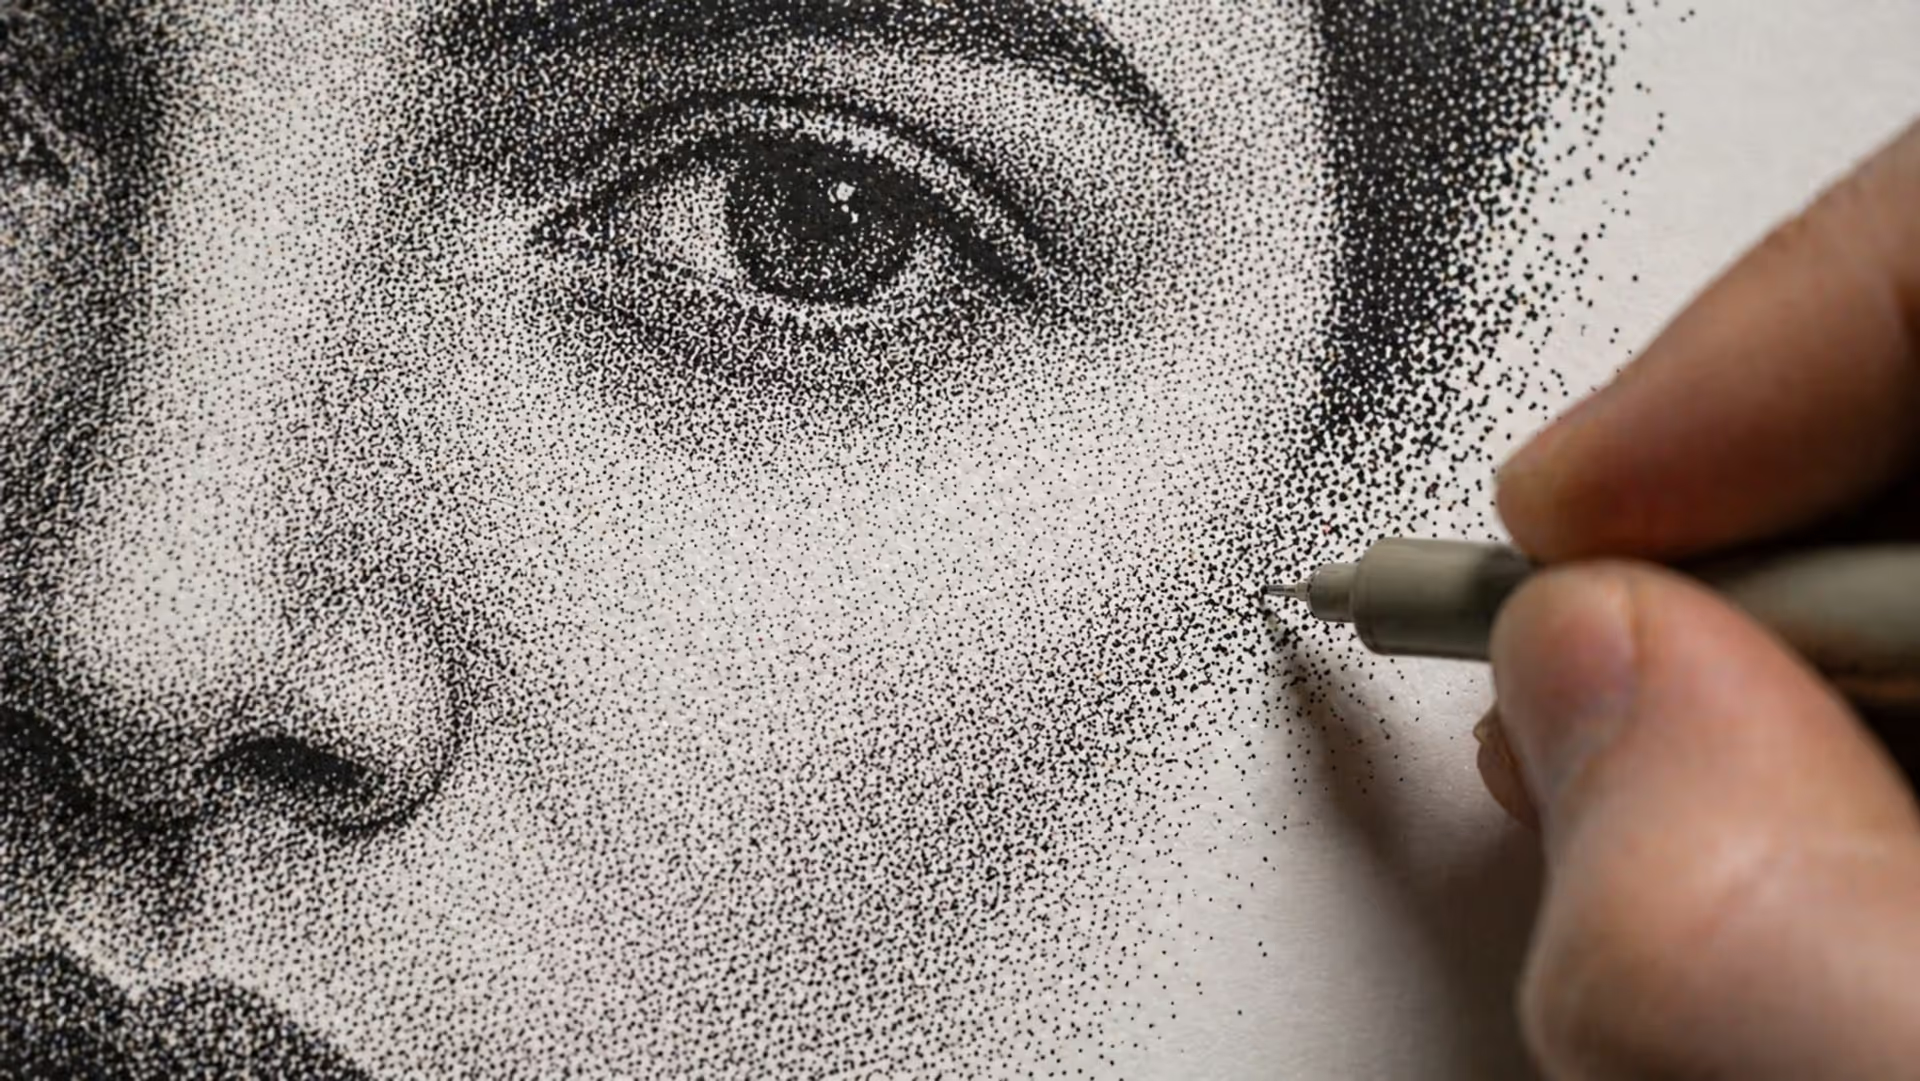
Stippling creates stunning artwork using only dots. This comprehensive guide covers everything from basic dot shading methods to advanced illustration techniques, including tool recommendations, step-by-step tutorials, and common mistakes to avoid.
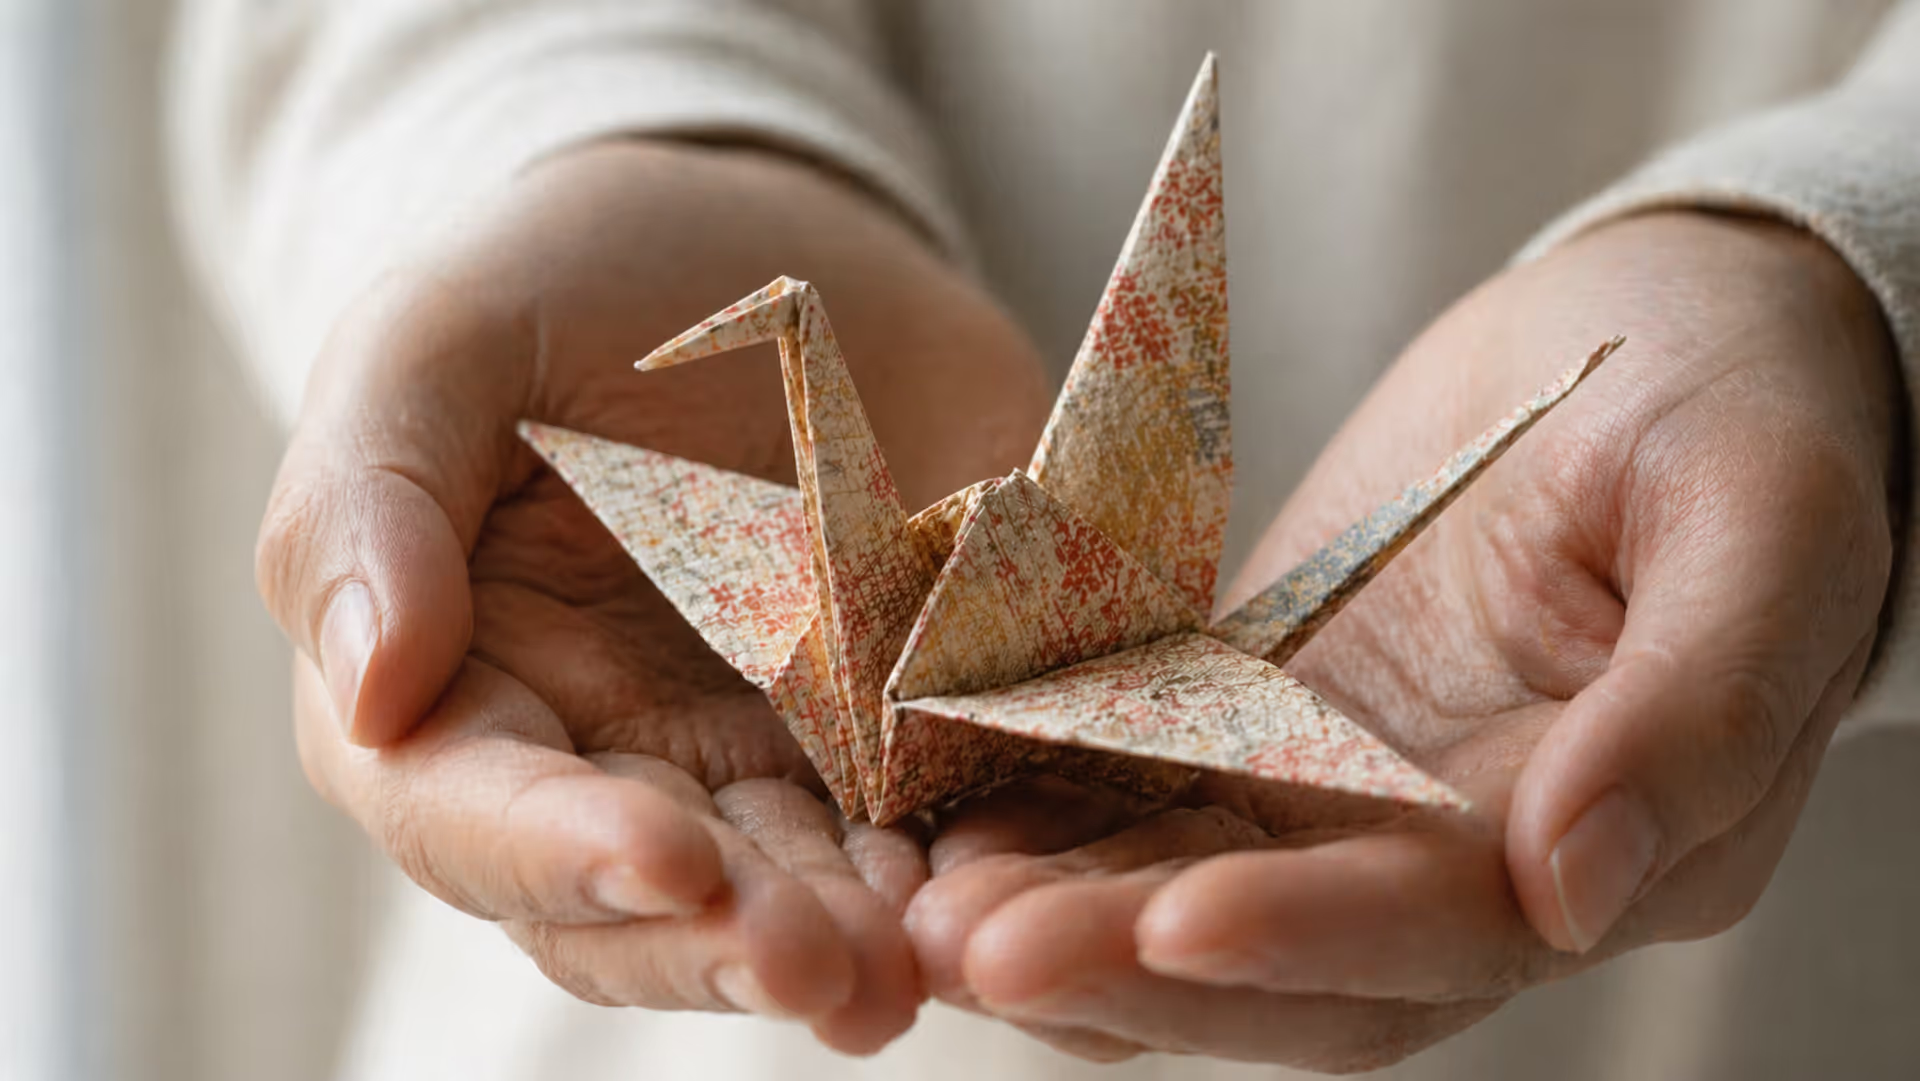
The paper crane carries profound significance beyond its folded form. Discover how this Japanese symbol influences contemporary design, from geometric principles to visual metaphors, and learn the cultural context behind 1,000 cranes, peace symbolism, and minimalist aesthetics.
The content on this website is provided for general informational and educational purposes only. It is intended to explain concepts related to digital design, visual art, color theory, art techniques, design principles, and design history.
All information on this website, including articles, guides, and examples, is presented for general educational purposes. Creative outcomes may vary depending on individual skill, tools, and practice.
This website does not provide professional design services or guarantee results, and the information presented should not be used as a substitute for formal education or professional consultation.
The website and its authors are not responsible for any errors or omissions, or for any outcomes resulting from decisions made based on the information provided on this website.