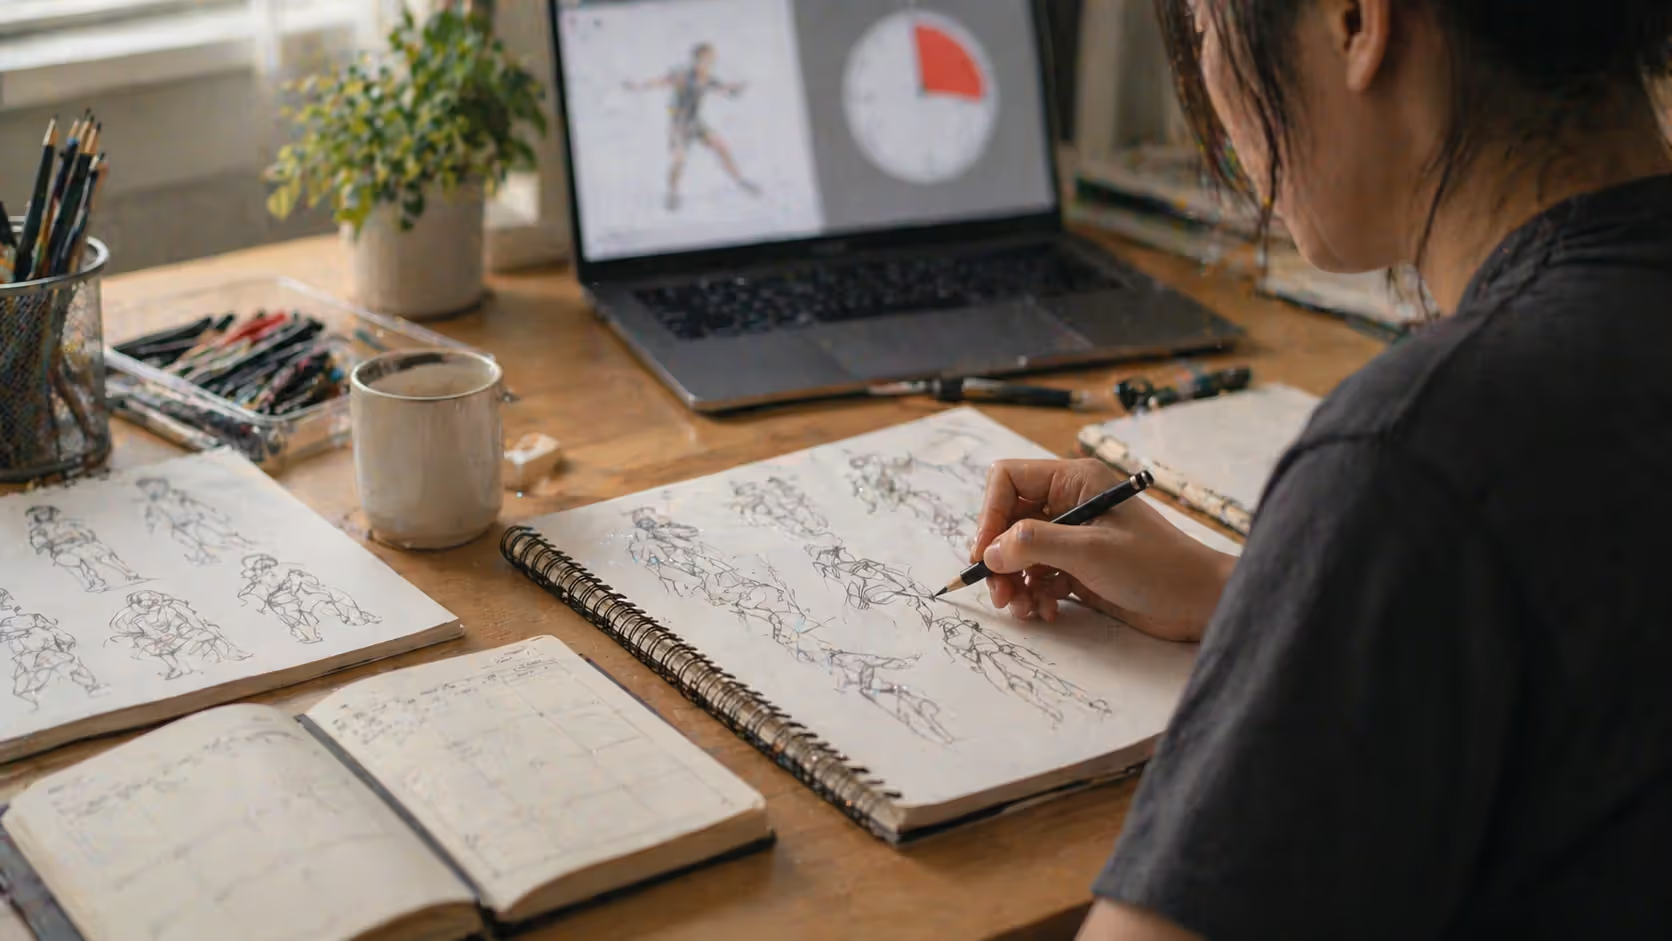
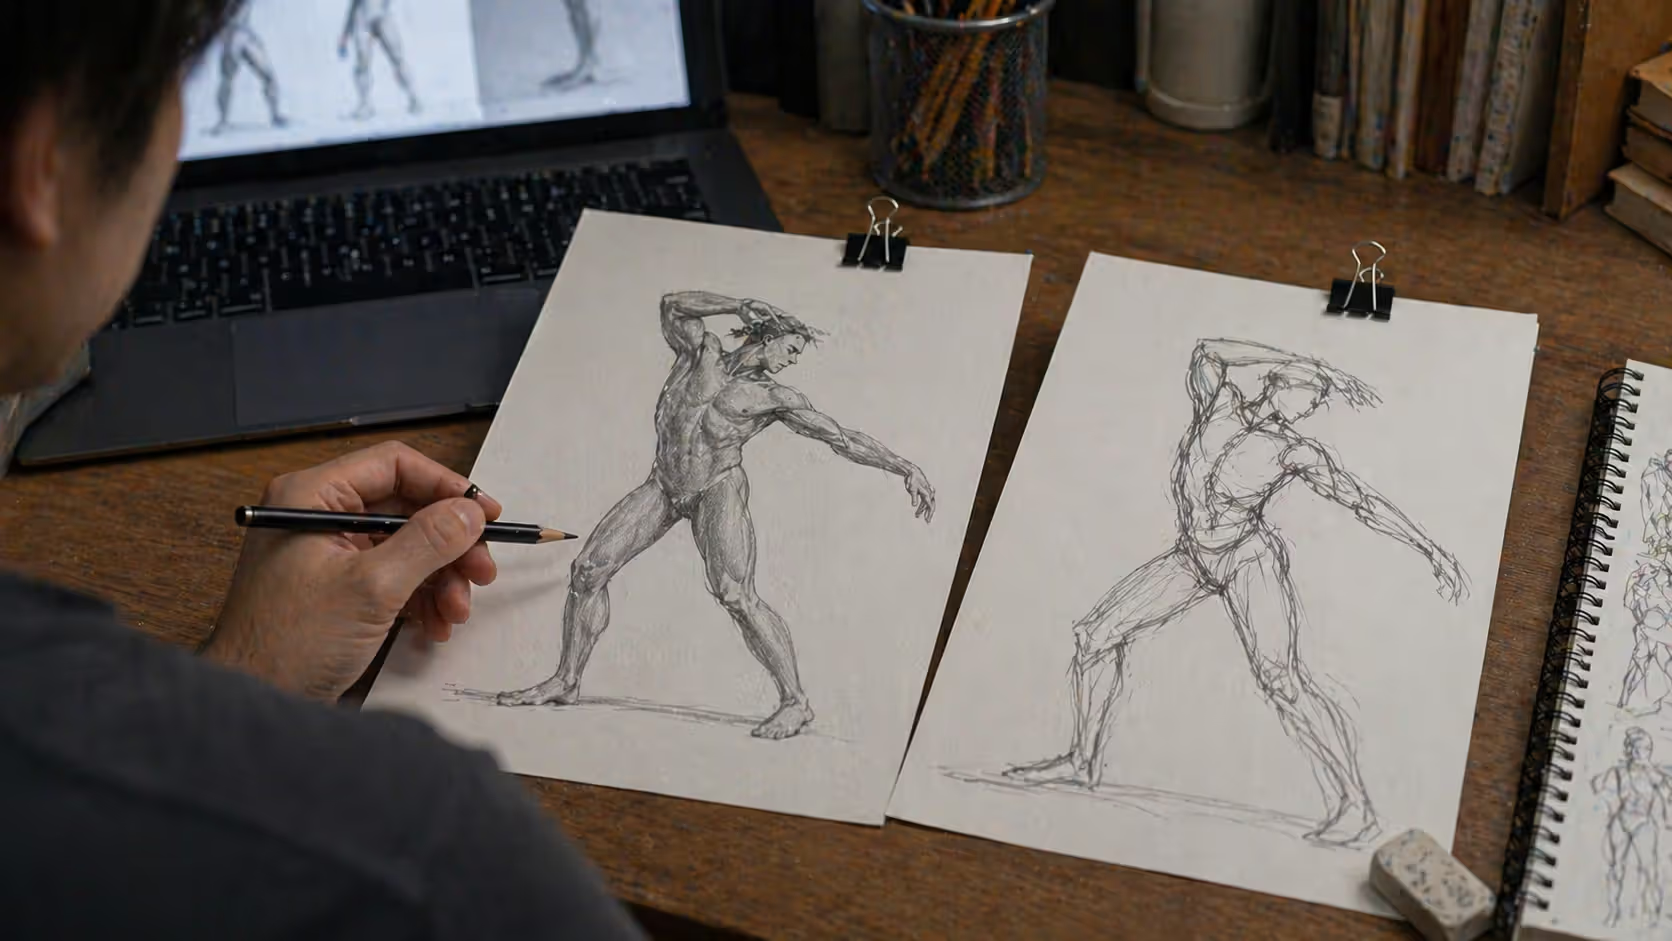
You've probably spent hours scrolling through Pinterest, saving reference photos you'll "definitely use later." Maybe you've bookmarked YouTube tutorials you haven't watched. Here's the thing—actually improving at figure drawing takes more than collecting resources. You need a structured place to practice daily, and that's where dedicated platforms come in.
Online figure drawing sites have changed the game completely. No more coordinating schedules around Thursday night studio sessions or paying $20 per drop-in class. You can run through 50 gesture drawings before your morning coffee.
What Makes a Good Figure Drawing Website
I've tried about a dozen platforms over the years. Some I used for months. Others I abandoned within days, despite glowing reviews.
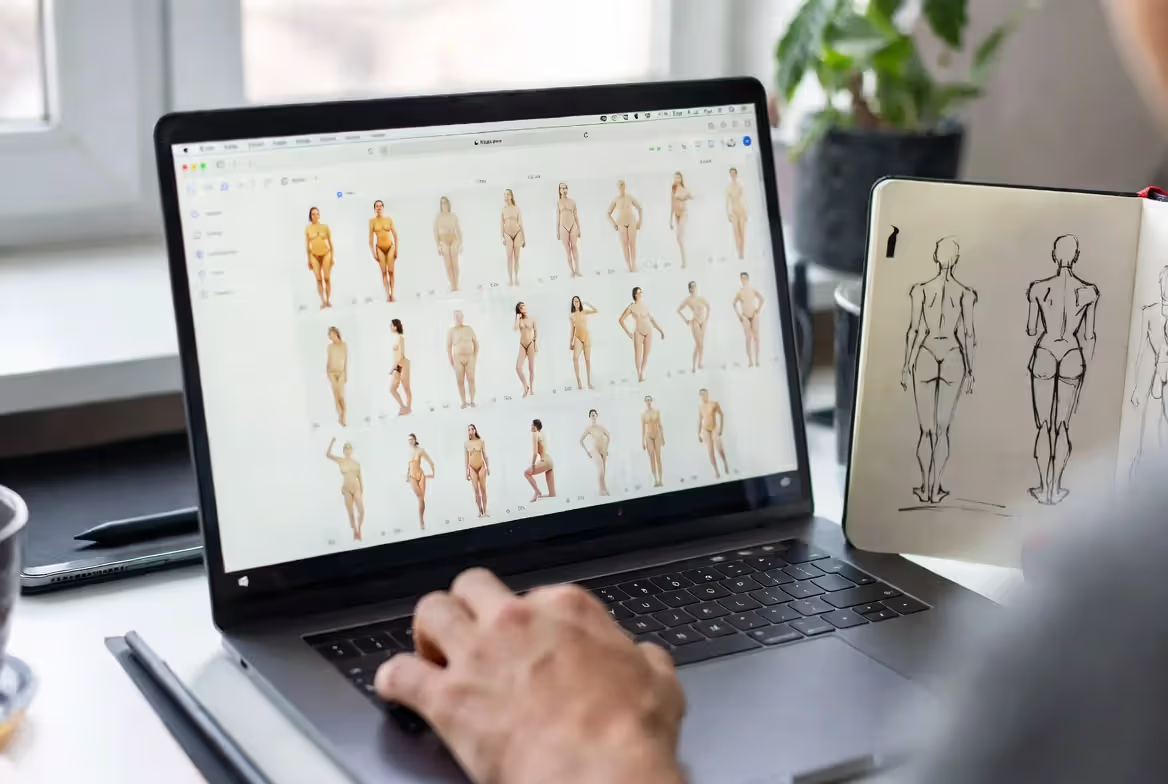
The pose library needs diversity, not just size. One site I tested had 3,000 references—impressive until you realize 2,400 were nearly identical standing poses with slight arm variations. Compare that to a smaller library of 600 images including seated twists, dramatic foreshortening, reclining figures, and action poses. Which teaches you more?
You'll find platforms offering everything from classical contrapposto to martial arts kicks. The best collections include older models, different body types, and unusual viewing angles. If you're only drawing idealized 25-year-olds from eye level, you're limiting yourself.
Timer settings need to match how you actually practice. I like running 20 one-minute poses to warm up, then switching to five-minute studies, finishing with one 20-minute detailed drawing. Some digital figure drawing tools force you into preset sequences (their idea of a good session, not yours). Others let you build custom rotations and save them.
Auto-advance features help maintain flow. You're not breaking concentration to click "next pose" every 60 seconds. But sometimes I want to linger on a challenging angle—that choice should be mine.
Poor image quality kills the learning process. Muddy shadows and pixelated resolution mean you're guessing at anatomy instead of observing it. Where does that deltoid actually attach? Is that shadow from the ribcage or just bad lighting? High-res professional photography eliminates ambiguity. You can zoom in on a hand or foot and actually see what's happening.
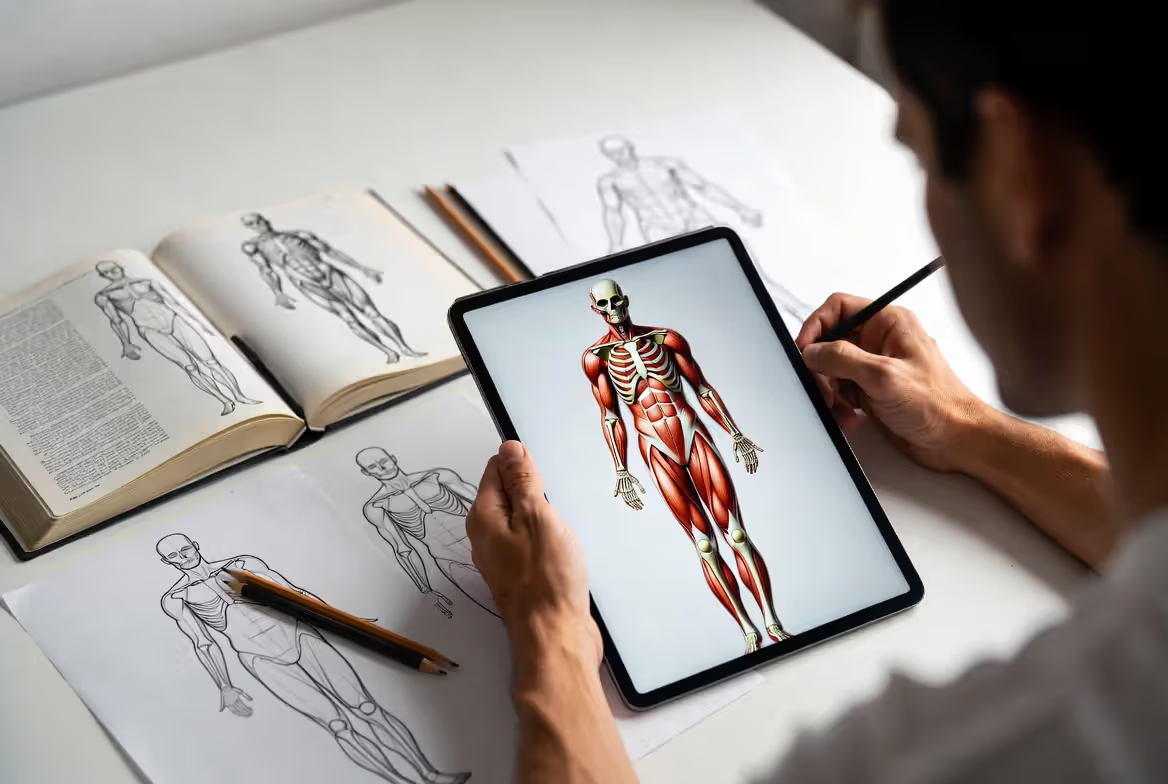
Anatomy overlays answer the "why" behind what you're seeing. Toggle on a skeletal layer and suddenly the pose makes sense—that weird bump is the scapula rotating, not a mystery lump to memorize. These tools cut through months of confusion. You observe surface form, check the underlying structure, then draw with understanding rather than blind copying.
Functional search filters save hours of frustration. Working on back muscles this week? Filter for posterior views. Struggling with hands? Find poses emphasizing hand positions and gestures. Random pose selection has its place for variety, but when you're targeting specific weaknesses, you need precision. The difference between "I should practice hands sometime" and "30 minutes of hand-focused poses right now" is huge.
Author: Sophie Calder;
Source: crafterholic.com
How Figure Drawing Websites Help You Practice
Yeah, practicing in your pajamas at 6 AM is convenient. But the real advantages go deeper.
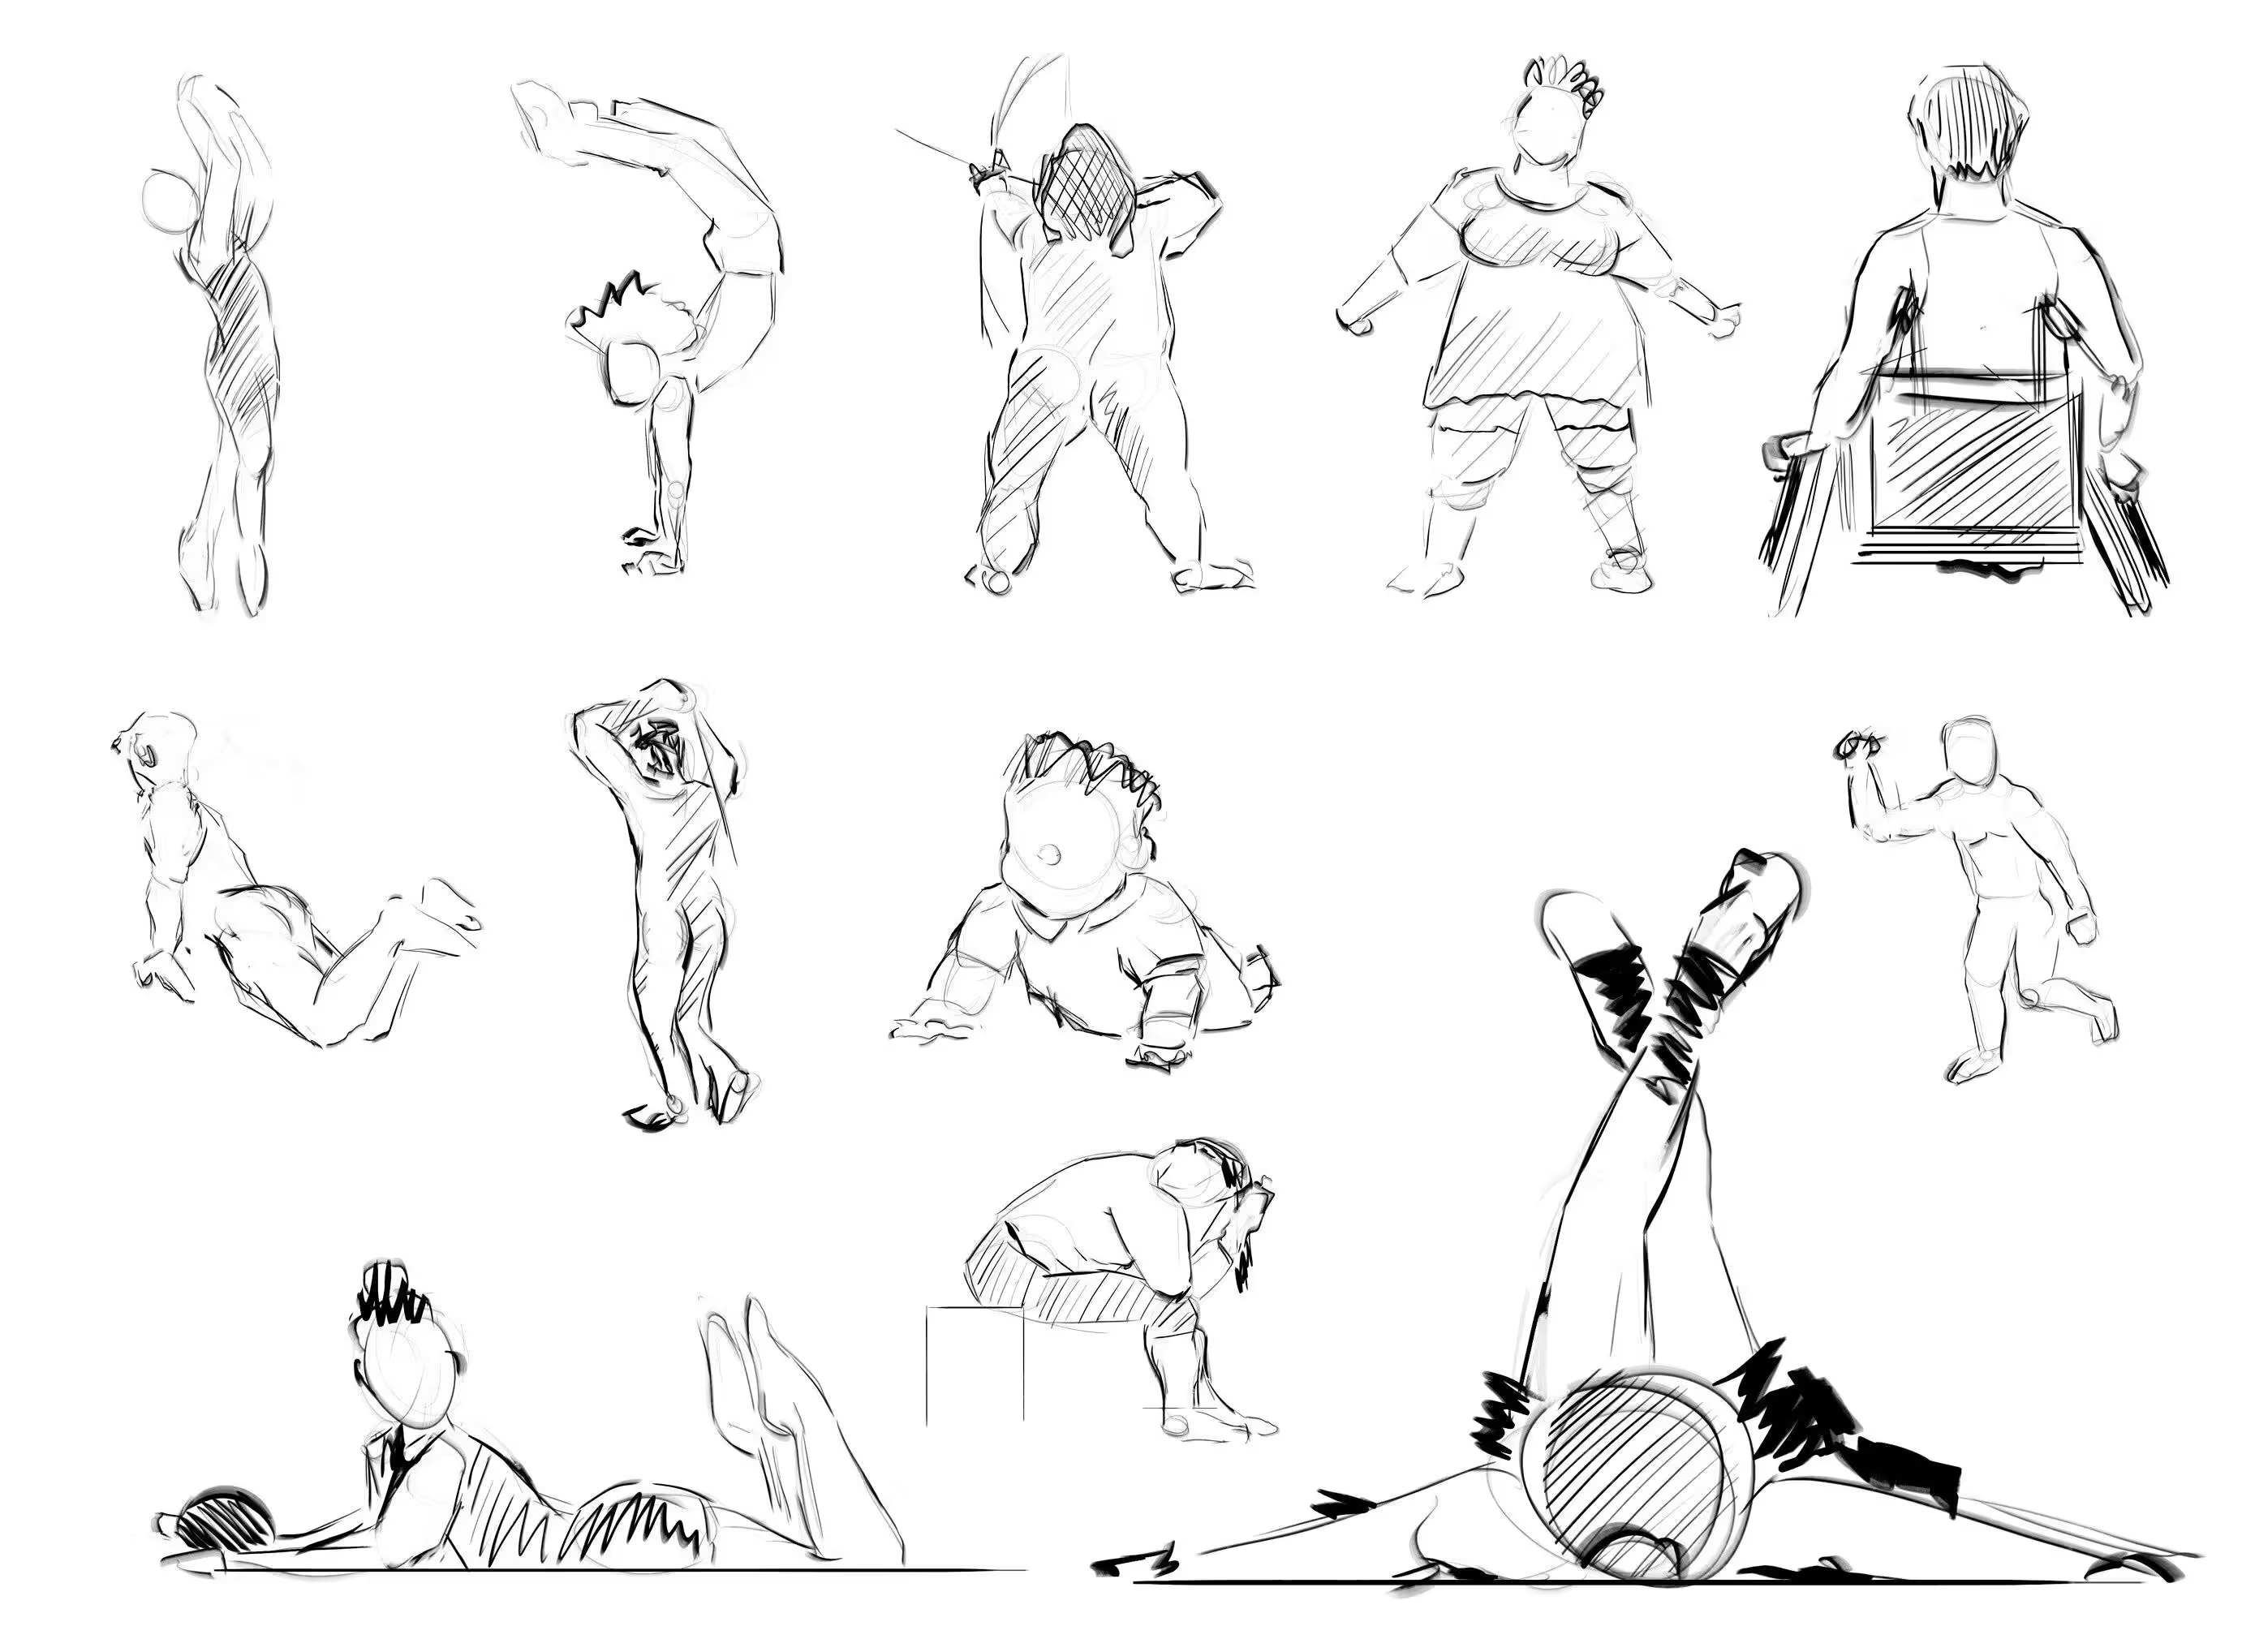
Time pressure forces better observation. Give yourself 45 seconds before the image disappears. Suddenly you can't fiddle with that pinky finger for ten minutes. You capture weight shift, gesture, basic proportions—then it's gone. This constraint trains you to see the important stuff first. Those skills stick with you even during longer studies.
I've attended plenty of live sessions where everyone groans at 30-second poses. "Too fast!" But those quick sketches often look more alive than the overworked 20-minute studies. Timed pose drawing builds that instinct for essential gesture.
You control the difficulty curve. Start your first week with one-minute gestures only. Nothing fancy, just action lines and basic proportions. Week two, add some two-minute poses to flesh out volumes. Month two, incorporate 10-minute anatomy studies. Month six, tackle 45-minute detailed renderings. Try structuring that progression when you're attending random drop-in sessions with predetermined pose lengths.
Repetition with the same reference shows exact improvement. That twisting torso kicked your butt on Monday? Save it. Try again Wednesday. Again Friday. You'll see precisely what clicked and what still needs work. Live models never recreate identical poses, making direct comparison impossible.
The trade-off's real though—screens flatten everything. You lose that subtle three-dimensional presence when a person stands six feet away rotating in space. I'm not saying abandon live sessions if you have access. Use online platforms for volume and fundamentals, then apply those skills with actual models occasionally.
Author: Sophie Calder;
Source: crafterholic.com
Types of Online Figure Drawing Resources Available
Pose Libraries and Reference Collections
Most online figure drawing resources center around static image galleries. Professional photography studios, user-submitted archives, curated artistic collections—quality varies wildly.
Some libraries specialize in niches you won't find elsewhere. Dancers mid-leap. Elderly figures (seriously underrepresented in most collections). Athletes in motion. Diverse body types beyond the standard "idealized form." If you're designing characters for a graphic novel featuring a 55-year-old detective, those generic superhero-body references won't cut it.
Lighting matters enormously. Professional shoots with controlled lighting reveal form clearly—you can trace how light wraps around the ribcage or how shadows define the planes of the face. Amateur submissions might offer interesting poses but with harsh bathroom lighting or distracting background clutter that makes the learning process harder.
Anatomy Reference Tools
Author: Sophie Calder;
Source: crafterholic.com
Surface observation only takes you so far. Dedicated anatomy reference for artists shows what's happening underneath.
3D rotatable models changed my understanding completely. You can spin a figure to see how the shoulder blade moves during an arm raise or watch the ribcage compress during a side bend. Static anatomy textbook diagrams never clicked for me—seeing the structure from 20 different angles built actual spatial understanding.
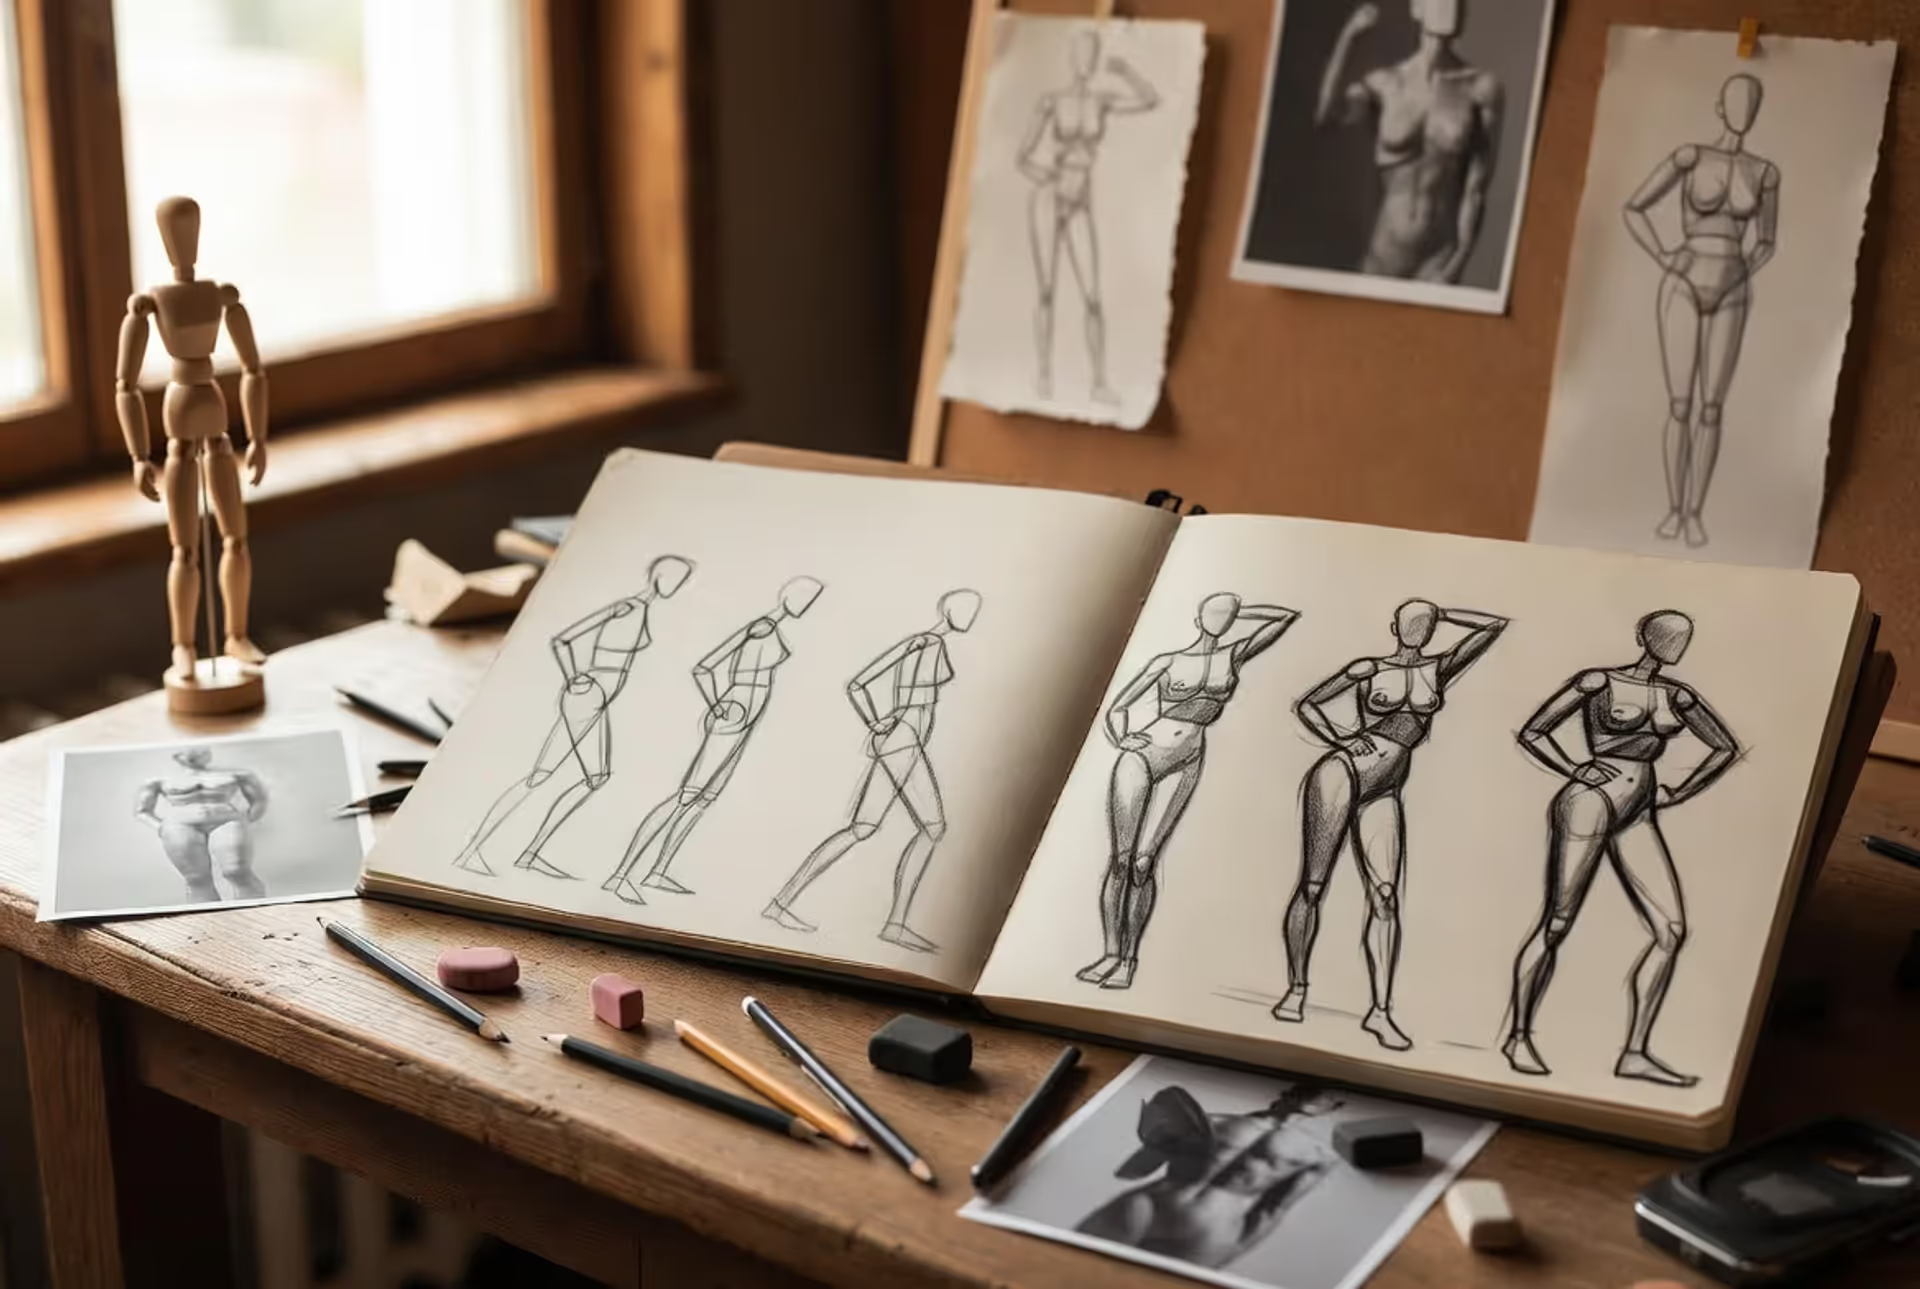
Some platforms overlay simplified geometric forms. Cylinders for limbs, spheres for joints, a box for the ribcage. This helps translate "complicated organic human body" into "drawable shapes I can actually construct." Especially valuable when you're past the absolute beginner stage but can't yet draw confidently from imagination.
Interactive Drawing Sessions
These simulate the studio experience at home. The platform displays a pose for your chosen duration, then automatically switches. You might run 25 one-minute gestures, then 8 three-minute poses, finishing with a single 25-minute study—basically a compressed version of a three-hour life drawing reference guide session.
Better platforms show multiple angles of identical poses. You draw the front view for five minutes, then the screen shows the exact same pose from behind. Suddenly you're thinking about the body as a connected three-dimensional form instead of separate flat views.
Some include instructor commentary overlays—"notice how the weight shifts entirely onto the left hip" or "focus on the gesture line from head to toe, ignore details." This bridges the gap between pure reference images and actual instruction.
How to Use a Figure Drawing Website Effectively
Author: Sophie Calder;
Source: crafterholic.com
Access to 5,000 poses means nothing without structure. I wasted months browsing randomly before figuring this out.
Always start with gesture warmups. Five to ten minutes of 30-second poses, every single session. Gets your hand moving and eye observing before tackling anything demanding. Skip this and you'll produce stiff, overworked drawings that miss the pose's energy. Gesture drawing practice trains you to see action and weight first—everything else builds on that foundation.
Separate gesture days from anatomy days. Trying to study muscle insertions while doing quick gestures splits your focus ineffectively. My current schedule: Monday and Wednesday are pure gesture—30 minutes, no detail allowed, just capturing movement and proportion. Tuesday and Thursday are anatomy days—longer poses where I study specific muscle groups or bone structure. Friday combines both—quick gesture foundation, then add anatomical understanding. This separation prevents adding premature detail to unconvincing gestures (a mistake I made for years).
Draw poses from memory to force active observation. Study a reference for 30 seconds. Hide it. Draw from memory for two minutes. Compare. Repeat with the same pose three times. This technique revealed how much I was mindlessly copying versus actually understanding. You'll notice what you genuinely remembered versus what you assumed or made up.
Rotate between standing, seated, and reclining within one session. Each category presents different challenges. Balance works differently when seated. Foreshortening intensifies when reclining. Artists who only practice standing figures struggle when they suddenly need to draw a seated character in a comic panel.
Track your practice specifics. I keep a simple spreadsheet noting date, pose types, durations, and what felt difficult. After four weeks, patterns emerge clearly. Turns out I'd done 60 front views but only 5 back views. I was avoiding feet. I never practiced foreshortening. Figure drawing study methods improve dramatically when you identify and target weak areas instead of endlessly practicing what you already do well.
Here's my weekly structure: Monday (gesture focus, 30 minutes), Tuesday (anatomy study, 45 minutes), Wednesday (rest or imagination sketching), Thursday (gesture plus longer studies, 60 minutes), Friday (challenging poses—foreshortening or unusual angles, 30 minutes), Weekend (long detailed studies or live session when available).
Free vs. Paid Figure Drawing Platforms
Budget's a real constraint. Understanding what you actually get at each price point helps you spend (or save) wisely.
Feature
Free Platforms
Paid Platforms
Best For
Pose quantity
100-500 images, rarely updated
1,000-10,000+ images, new additions monthly
Free suits beginners testing commitment; paid works for daily serious practice
Image quality
Hit or miss, often compressed
Professional photography, high resolution
Free handles gesture practice fine; paid necessary for detailed anatomical study
Timer functions
Basic intervals, sometimes ads interrupt between poses
Fully customizable, save sessions, zero interruptions
Free okay for casual practice; paid essential for structured training routines
Anatomy tools
Basically nonexistent or extremely basic
3D models, overlays, toggleable muscle/skeleton layers
Free limits you to surface observation; paid unlocks understanding underlying structure
Pose variety
Common standing/sitting, limited body diversity
Specialized action poses, diverse ages/body types, unusual angles
Free teaches fundamentals; paid meets specific artistic needs
Filtering/search
Usually missing or very limited
Extensive categorization, save custom collections
Free forces random practice; paid enables targeted skill development
Free for occasional use; paid for reliable daily access
Cost
$0
$5-15 monthly or $30-100 yearly
Free when budget-constrained; paid costs less than one live session monthly
Free platforms work perfectly if you're testing whether figure drawing interests you or practicing sporadically. The limitations become genuinely frustrating once you're practicing 30+ minutes daily and need specific pose types or better image clarity.
Paid subscriptions make financial sense when you practice consistently. One live model session costs $15-25 for three hours in my city. A monthly subscription to a quality figure drawing website runs about the same but provides unlimited access. The math favors digital if you're practicing more than weekly.
Some platforms offer hybrid models—limited free access with paid tiers unlocking advanced features. I recommend trying the free version for two solid weeks of daily practice. If you hit the limitations and want more, upgrade. If the free tier meets your needs completely, save your money for other art supplies.
Common Mistakes When Drawing from Reference
Author: Sophie Calder;
Source: crafterholic.com
Unlimited references create new problems alongside solving old ones.
Copying photographs instead of understanding forms. When you replicate every shadow and contour without knowing why they appear, you can't draw that pose from a different angle or modify it for your character design. The reference becomes a crutch you can't put down. Solution: regularly draw the same pose from memory after studying it, forcing understanding over copying.
Skipping foundational gesture for surface details. Beautiful shading on a poorly proportioned figure with unconvincing weight distribution still looks wrong. Detail never rescues weak foundation. I learned this the hard way after hundreds of over-rendered drawings with terrible underlying structure. Always establish gesture and proportion before adding anatomy or rendering. If your loose five-minute study looks more convincing than your detailed 30-minute drawing, you're adding detail way too early.
Practicing only comfortable poses. Hands are hard, so you draw every figure with hands behind their back or in pockets. Feet are tricky, so you crop every drawing at the ankles. Foreshortening is confusing, so you avoid dynamic angles. Your comfort zone shows exactly what needs practice. Deliberately choose poses that challenge your weak areas—that discomfort marks where growth happens.
Never varying your practice approach. Only doing quick gestures builds speed but not anatomical knowledge. Only doing long detailed studies builds rendering skills but not the ability to capture essential gesture quickly. Drawing from reference explained means understanding multiple methods: contour drawing, gesture drawing, constructive anatomy, value studies, and timed sketches all develop different skills. Rotate through different approaches weekly.
Ignoring the pose's context and story. Every pose communicates something—exhaustion, tension, relaxation, alertness, aggression. When you focus purely on anatomical accuracy, you miss the expressive content that makes drawings interesting. Ask yourself: what is this pose communicating? How does the weight distribution and gesture support that emotion or action? This mindset shift transforms technical exercises into actual artistic practice.
The real value of consistent figure drawing practice isn't just improving your ability to render a human form—it's training your eye to see relationships between forms, understand weight and balance, and make decisive marks. Digital resources democratize access to this training, but only if you approach them with the same discipline you'd bring to a live session. The platform is just a tool; your practice structure determines the results.
— Marcus Chen
Frequently Asked Questions About Figure Drawing Websites
Do I need a figure drawing website if I'm a beginner?
Especially as a beginner. You need volume—hundreds of drawings to develop hand-eye coordination and observational skills. Live sessions are valuable but expensive and infrequent for most people. A figure drawing website provides unlimited practice opportunities without the $20 drop-in fee each time. Start with free platforms to build the daily habit, then consider paid options once you're practicing consistently. The key here is regular practice, not perfect resources. Mediocre resources used daily beat perfect resources used occasionally.
How long should I practice on a figure drawing website each day?
Twenty to thirty minutes daily beats marathon two-hour weekend sessions. Skill develops through consistent repetition, and shorter sessions maintain focus better. When you're just starting, even 15 minutes of focused gesture practice daily shows noticeable improvement within four weeks. More advanced artists might practice 45-60 minutes, but I've found diminishing returns past 90 minutes in a single session—focus degrades and you start reinforcing sloppy habits instead of good ones.
Can I improve without attending live drawing sessions?
You can develop strong fundamentals, solid anatomy knowledge, and good observational skills entirely through online practice. The main thing you'll miss is experience with three-dimensional depth perception and subtle color temperature shifts in real lighting conditions. For most illustration work, concept art, or comics, online practice provides everything you need. If you're pursuing fine art painting or sculpture, occasional live sessions add valuable depth understanding. Think of online as 80-90% of what you need, with live sessions as useful supplementation rather than mandatory requirements.
What equipment do I need to use figure drawing websites?
Any device with a screen works—laptop, tablet, even a phone (though larger screens make seeing details easier). For digital drawing, a basic drawing tablet or iPad with stylus works well. For traditional practice, just paper and a pencil. I use cheap printer paper by the ream for gesture practice to remove the pressure of "wasting" good paper on warmup sketches. The equipment matters far less than consistent practice time. Start with whatever you have right now rather than waiting to acquire perfect tools.
Are timed poses better than untimed reference images?
Both serve different purposes in your development. Timed poses force you to prioritize and work efficiently—essential for capturing gesture and avoiding overworking drawings. They build decision-making speed and observational accuracy under pressure. Untimed references let you study specific anatomy, practice rendering techniques, or work out complex foreshortening problems without time pressure breathing down your neck. A balanced practice includes both: timed sessions for gesture and observation skills, untimed studies for anatomy and detail work. Beginners often benefit from more timed practice to avoid getting lost in premature details before understanding basic proportions.
How do I choose between different figure drawing platforms?
Try free versions of 2-3 platforms for one full week each with actual daily practice sessions, not just browsing features. Notice which interface feels intuitive, which pose libraries match your current needs, and which timer functions support your workflow instead of fighting it. Consider whether you genuinely need anatomy tools or just pose references at your current skill level. Read what features unlock at paid tiers and whether those specific features matter for your practice goals. The "best" platform is whichever one you'll actually use consistently—sometimes a simpler interface with fewer features beats a feature-rich platform with clunky workflow that frustrates you.
The right figure drawing website becomes your virtual studio, accessible whenever you've got 15 minutes and motivation to practice. The platforms themselves matter less than what you actually do with them—random browsing builds nothing, but structured practice with clear goals transforms your observational and rendering skills over time.
Start with gesture fundamentals through timed practice sessions, gradually incorporating longer anatomical studies as your foundation strengthens. Use free resources to build consistency, then invest in paid platforms when limitations genuinely frustrate your progress. Avoid the trap of passive copying by regularly drawing from memory and deliberately practicing your weak areas instead of comfortable ones.
Artists who improve fastest treat online figure drawing resources as tools within a broader practice structure, not magic solutions that automatically make them better. They warm up with gestures every session, rotate between different pose types weekly, separate gesture days from anatomy study days, and track their practice to identify gaps in their training. They understand that 30 minutes of focused, structured practice beats three hours of aimless reference browsing every time.
Your figure drawing skills will improve in direct proportion to the volume of thoughtful practice you complete. Online platforms remove the barriers of cost, scheduling, and access that previously limited that volume for most artists. The question isn't whether these tools can help you improve—it's whether you'll use them consistently enough to see results six months from now.
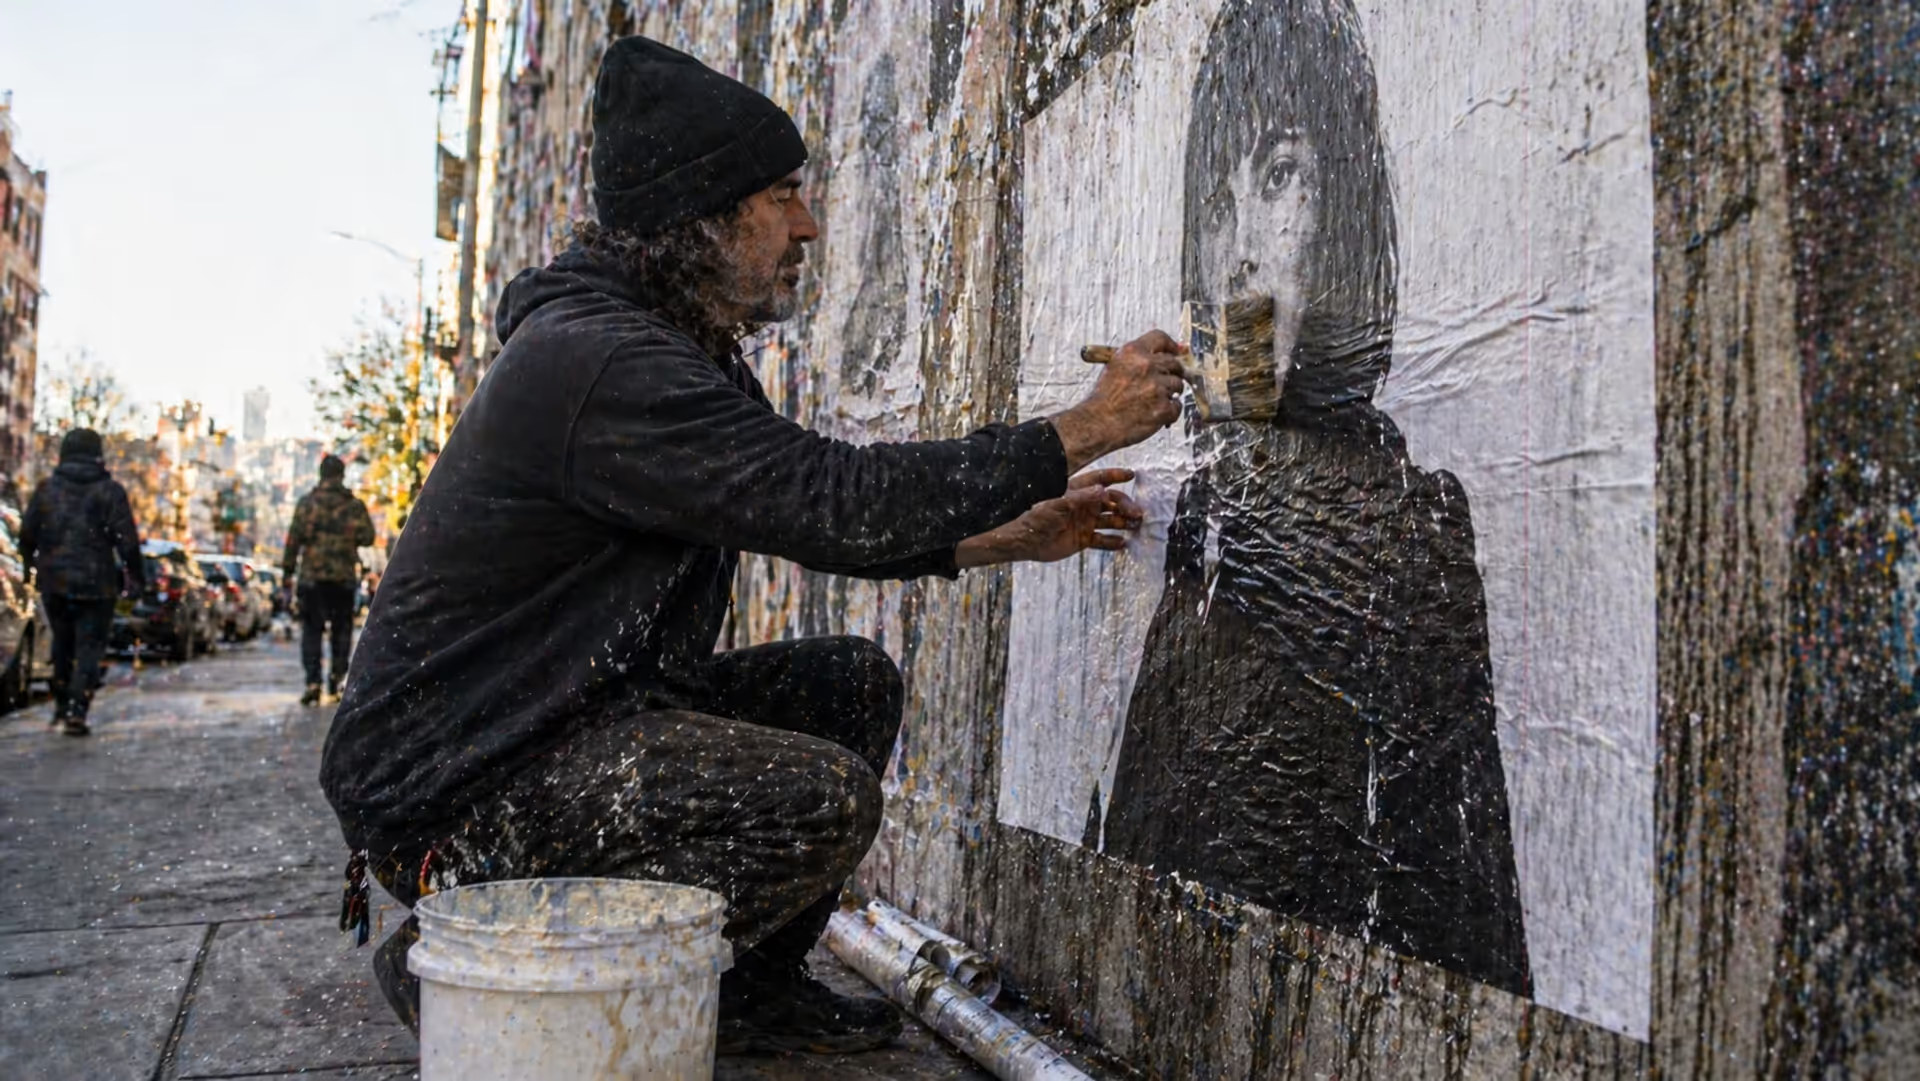
Master the wheatpaste street art technique with this complete guide covering adhesive recipes, poster installation methods, material selection, and legal considerations. Learn to create durable wheat paste art installations using affordable supplies and proven application techniques.
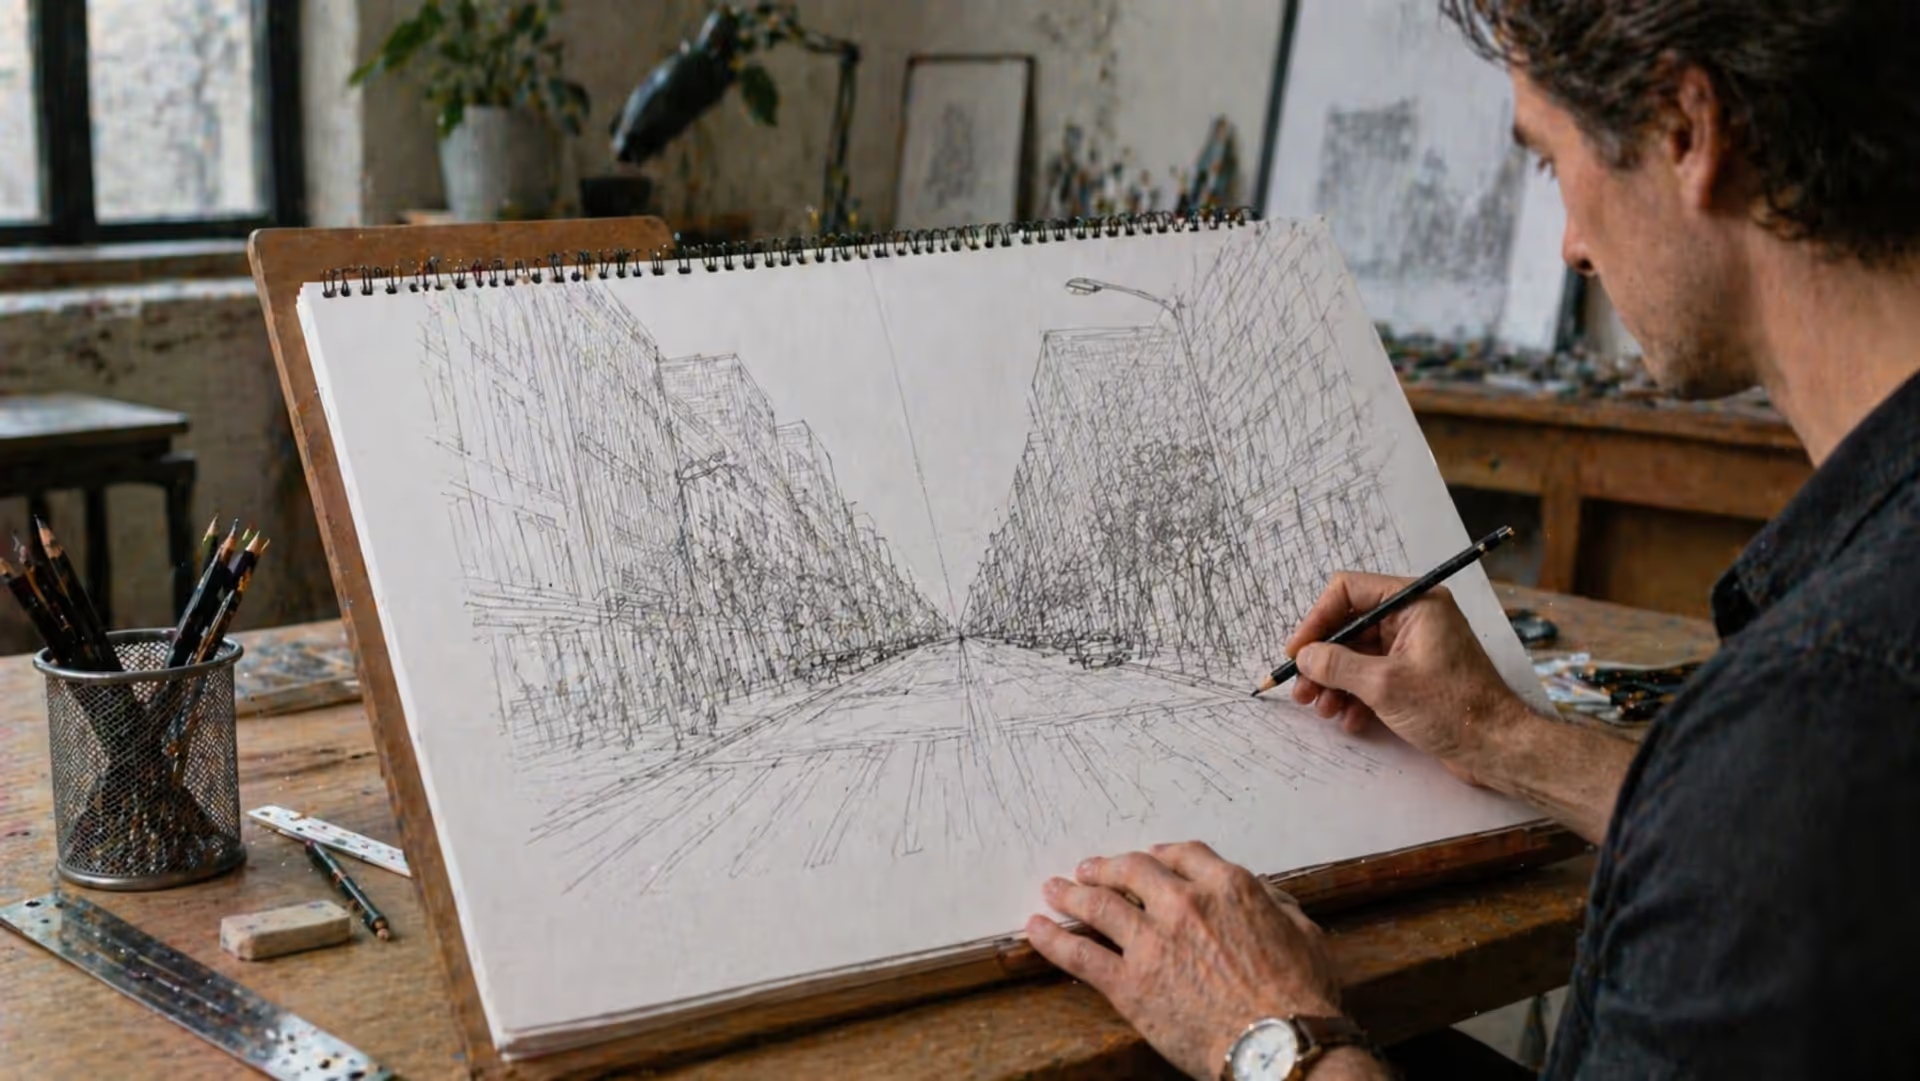
Perspective is the set of techniques artists use to represent three-dimensional space on a flat surface. It governs how objects appear smaller as they recede, how parallel lines converge toward a single point, and how atmospheric conditions affect color and clarity across spatial planes.
Learn to draw compelling three quarter view portraits with this comprehensive guide covering proportions, perspective, and step-by-step techniques. Discover why this angle creates depth and dimension, master foreshortening, and avoid common mistakes that flatten your portraits.
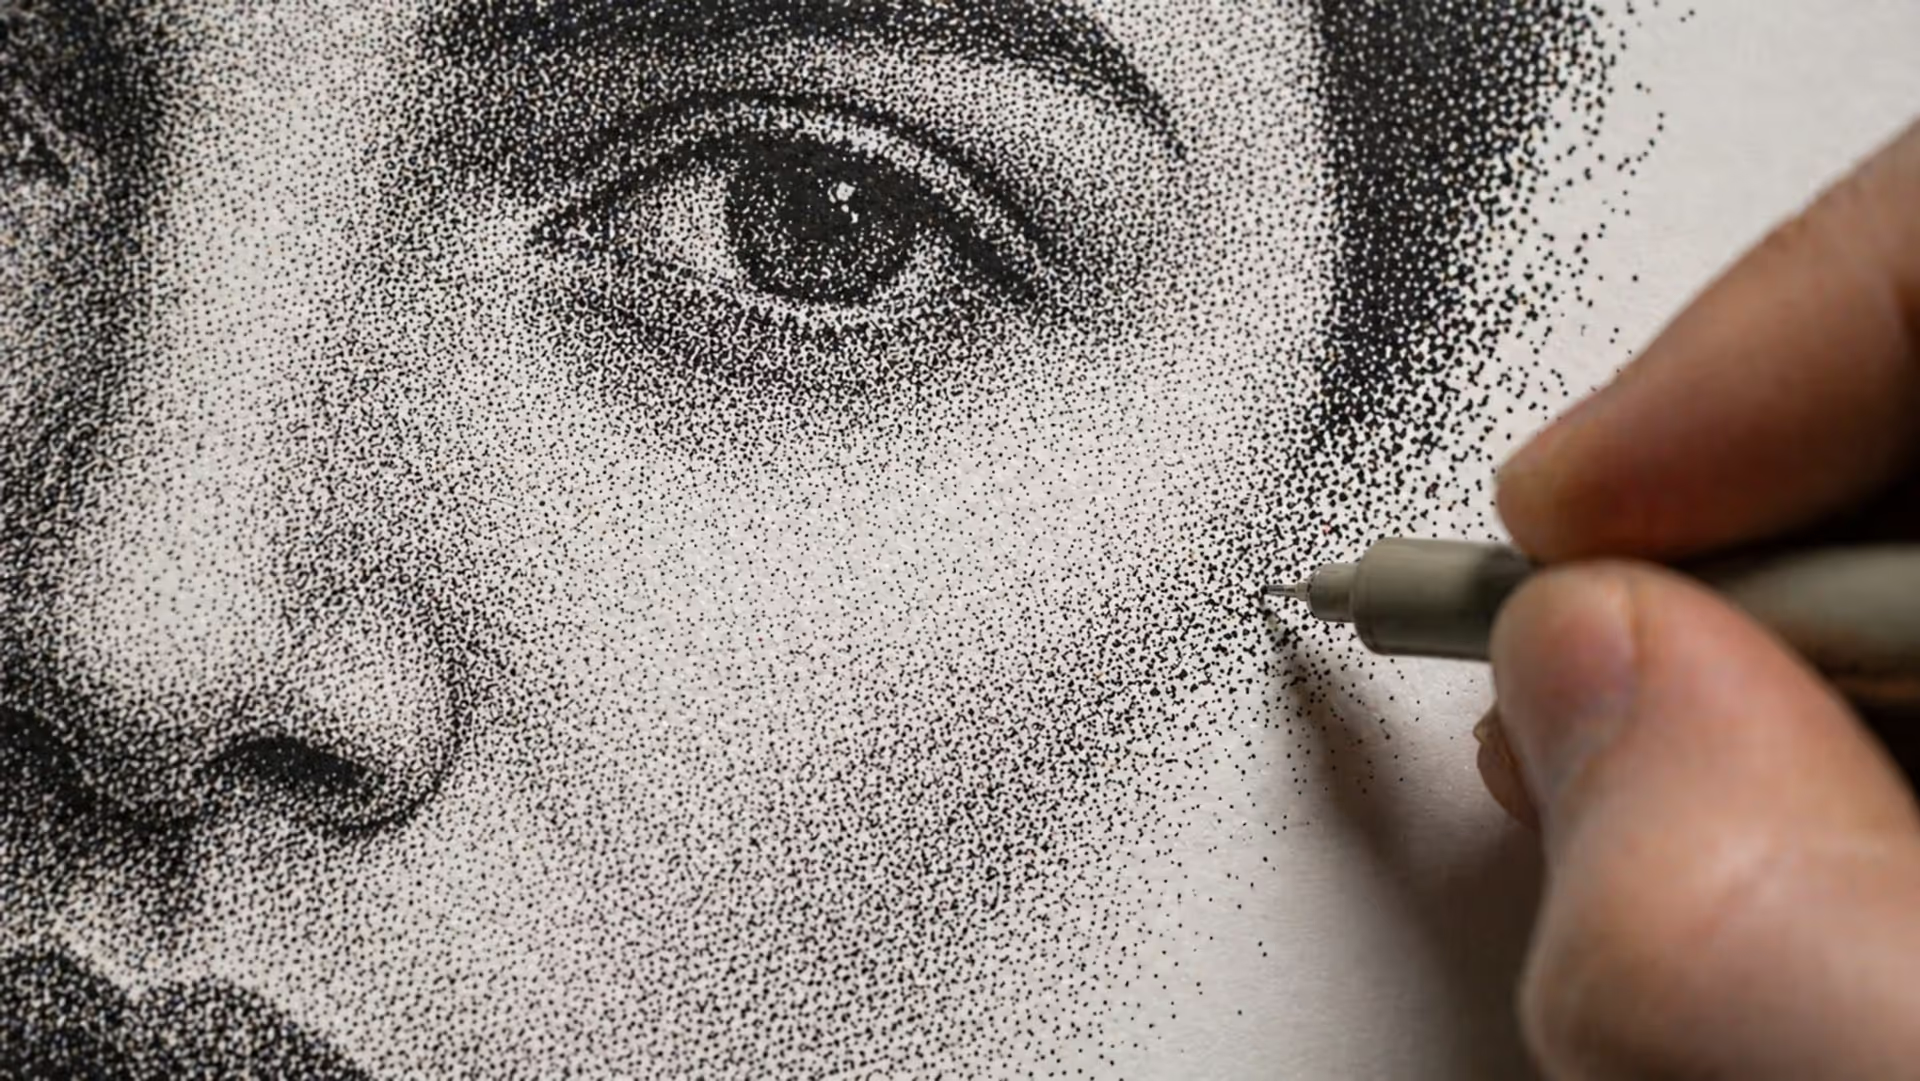
Stippling creates stunning artwork using only dots. This comprehensive guide covers everything from basic dot shading methods to advanced illustration techniques, including tool recommendations, step-by-step tutorials, and common mistakes to avoid.
The content on this website is provided for general informational and educational purposes only. It is intended to explain concepts related to digital design, visual art, color theory, art techniques, design principles, and design history.
All information on this website, including articles, guides, and examples, is presented for general educational purposes. Creative outcomes may vary depending on individual skill, tools, and practice.
This website does not provide professional design services or guarantee results, and the information presented should not be used as a substitute for formal education or professional consultation.
The website and its authors are not responsible for any errors or omissions, or for any outcomes resulting from decisions made based on the information provided on this website.